 The genesis of this project was in multiple threads of awareness.
First, I have experienced so much precious community in Disabled Twitter in the last year. I am so grateful to the “visibly disabled”, chair users and mobility aid users, limb different folks and asymmetrical folks, for the welcome they give to invisible illness and chronic illness folks like me. To be heard and seen for the person fighting to “function” that I am is a revelation.
 Huge thanks to Imani Barbarin, “Coffee Spoonie“, Brianne Benness, and Andrew Gurza, just to start.
I also in the last year met and got to draw amazing adult filmmaker Dr. Loree Erickson. I’m following Limb Different models like Ashley Young, actors like Samantha Renke, and delighting in the vision of the inclusive modelling agency Zebedee Management.
 Then, I was watching that tv show about fairies fucking.
There was a scene where a fairy midwife looked at a newborn being whose wings were small and said, “He probably couldn’t even ever have taken flight, poor thing!” or something like that. I was like, ableist prejudice from the fairies???
 And I had some scraps of Angelina Fantasy Film that I had shaped as test pieces and then absently glued crystals to, on my worktable.

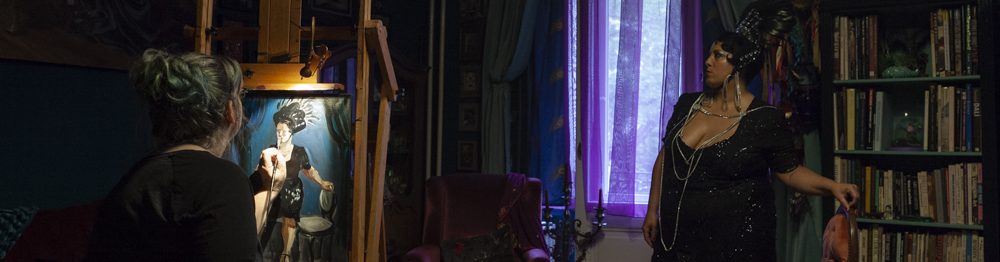
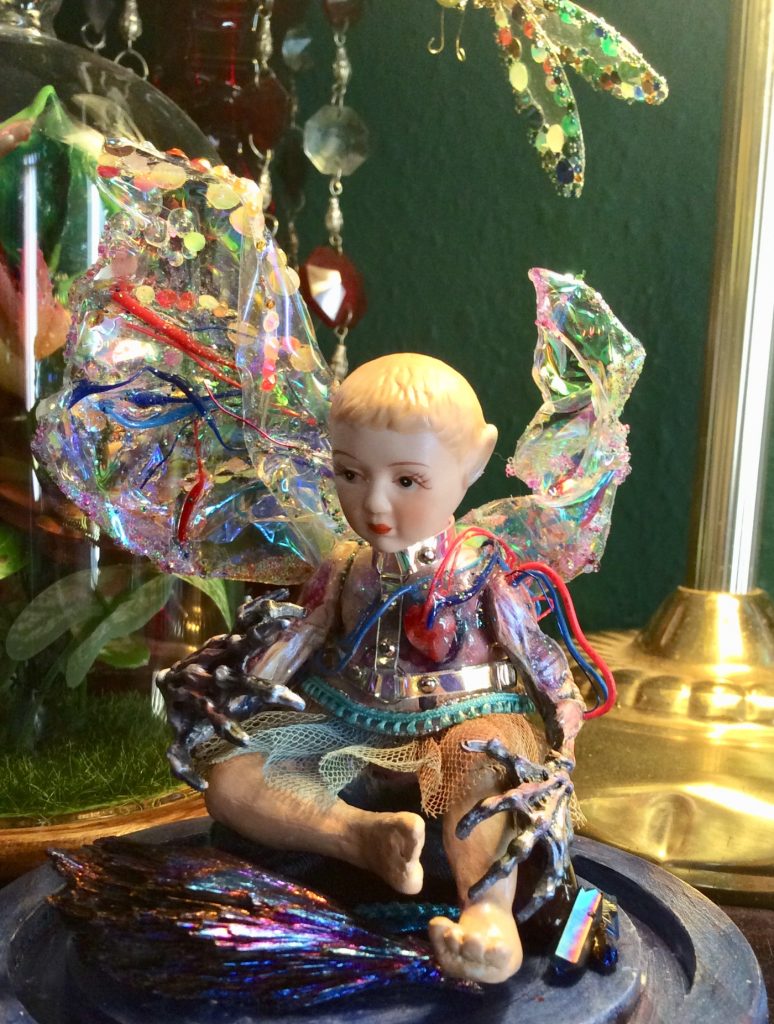
Slowly this all came together with the idea to make one of my bricolage fairy dolls, but visibly disabled and limb different. I used the second-to-last one of the ceramic fairy bust/heads I bought on sale at the craft store in St. Paul in 1994!
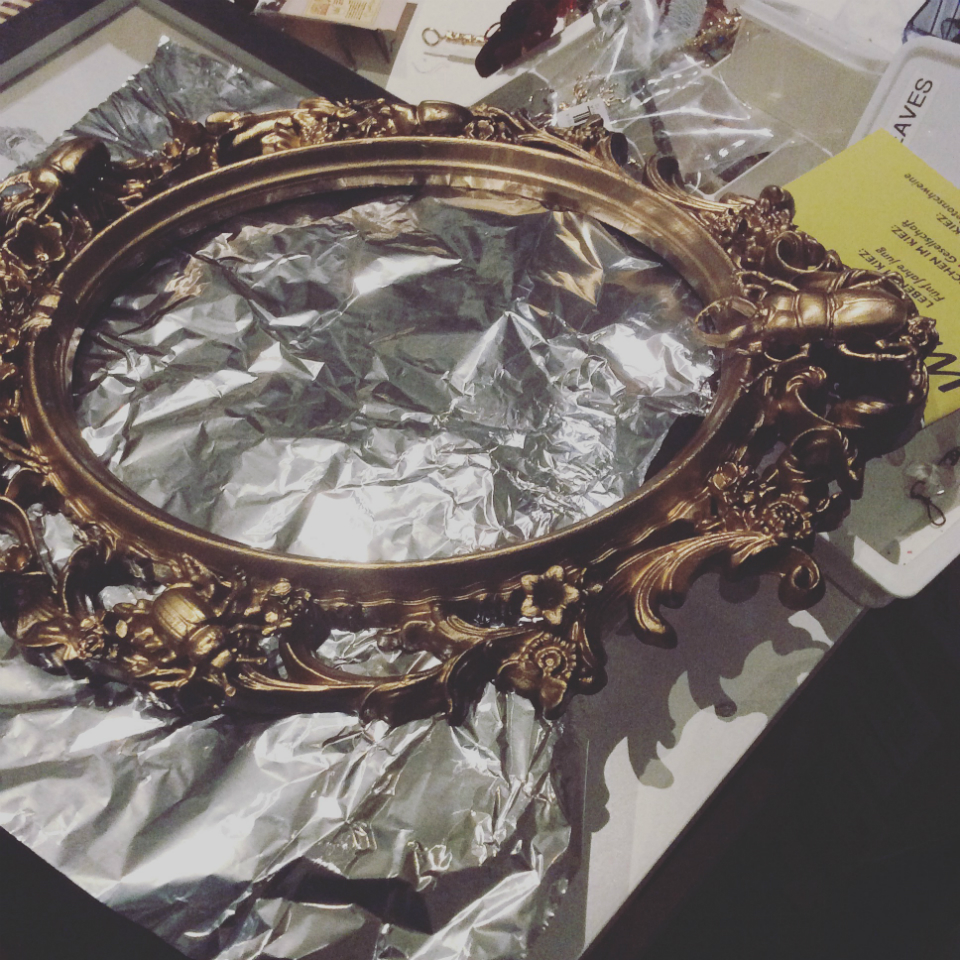
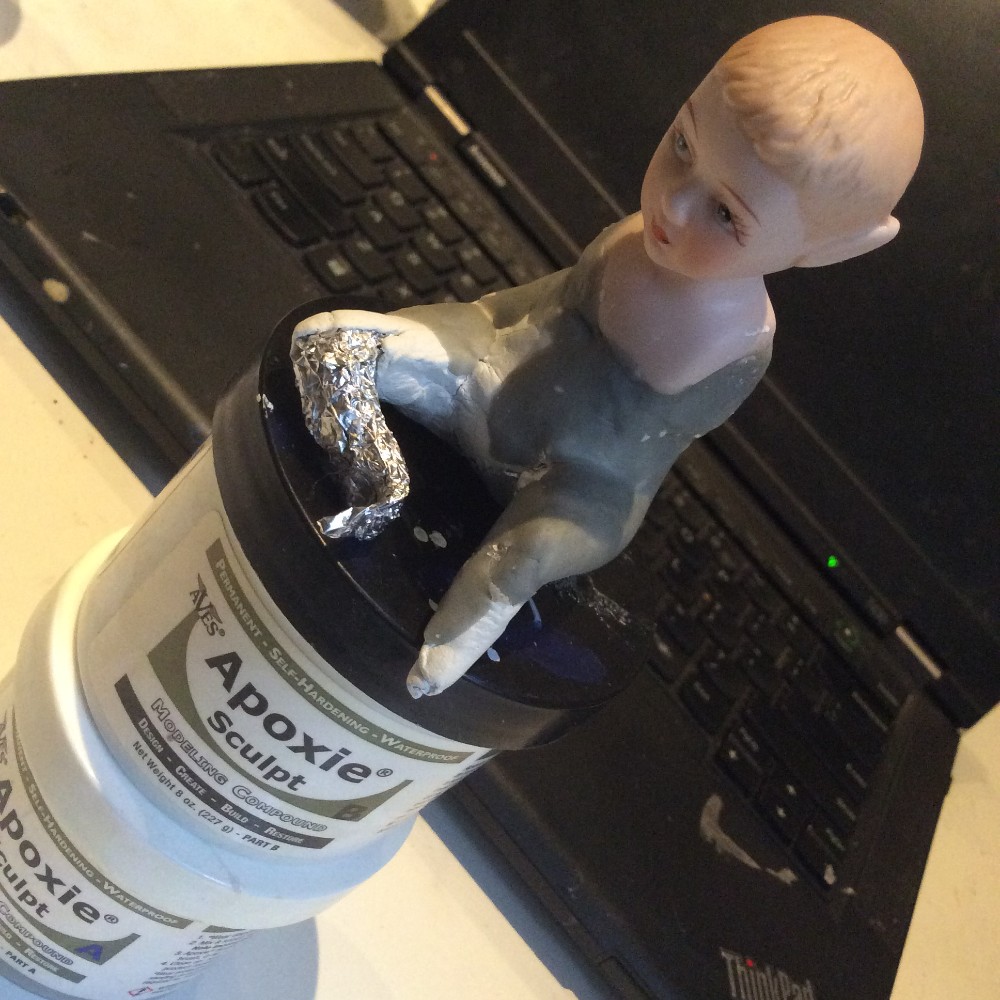 I shaped the base for the non-binary fairy, whose name is Lux, out of tinfoil, which I covered with FIMOAir air-dry modelling clay.
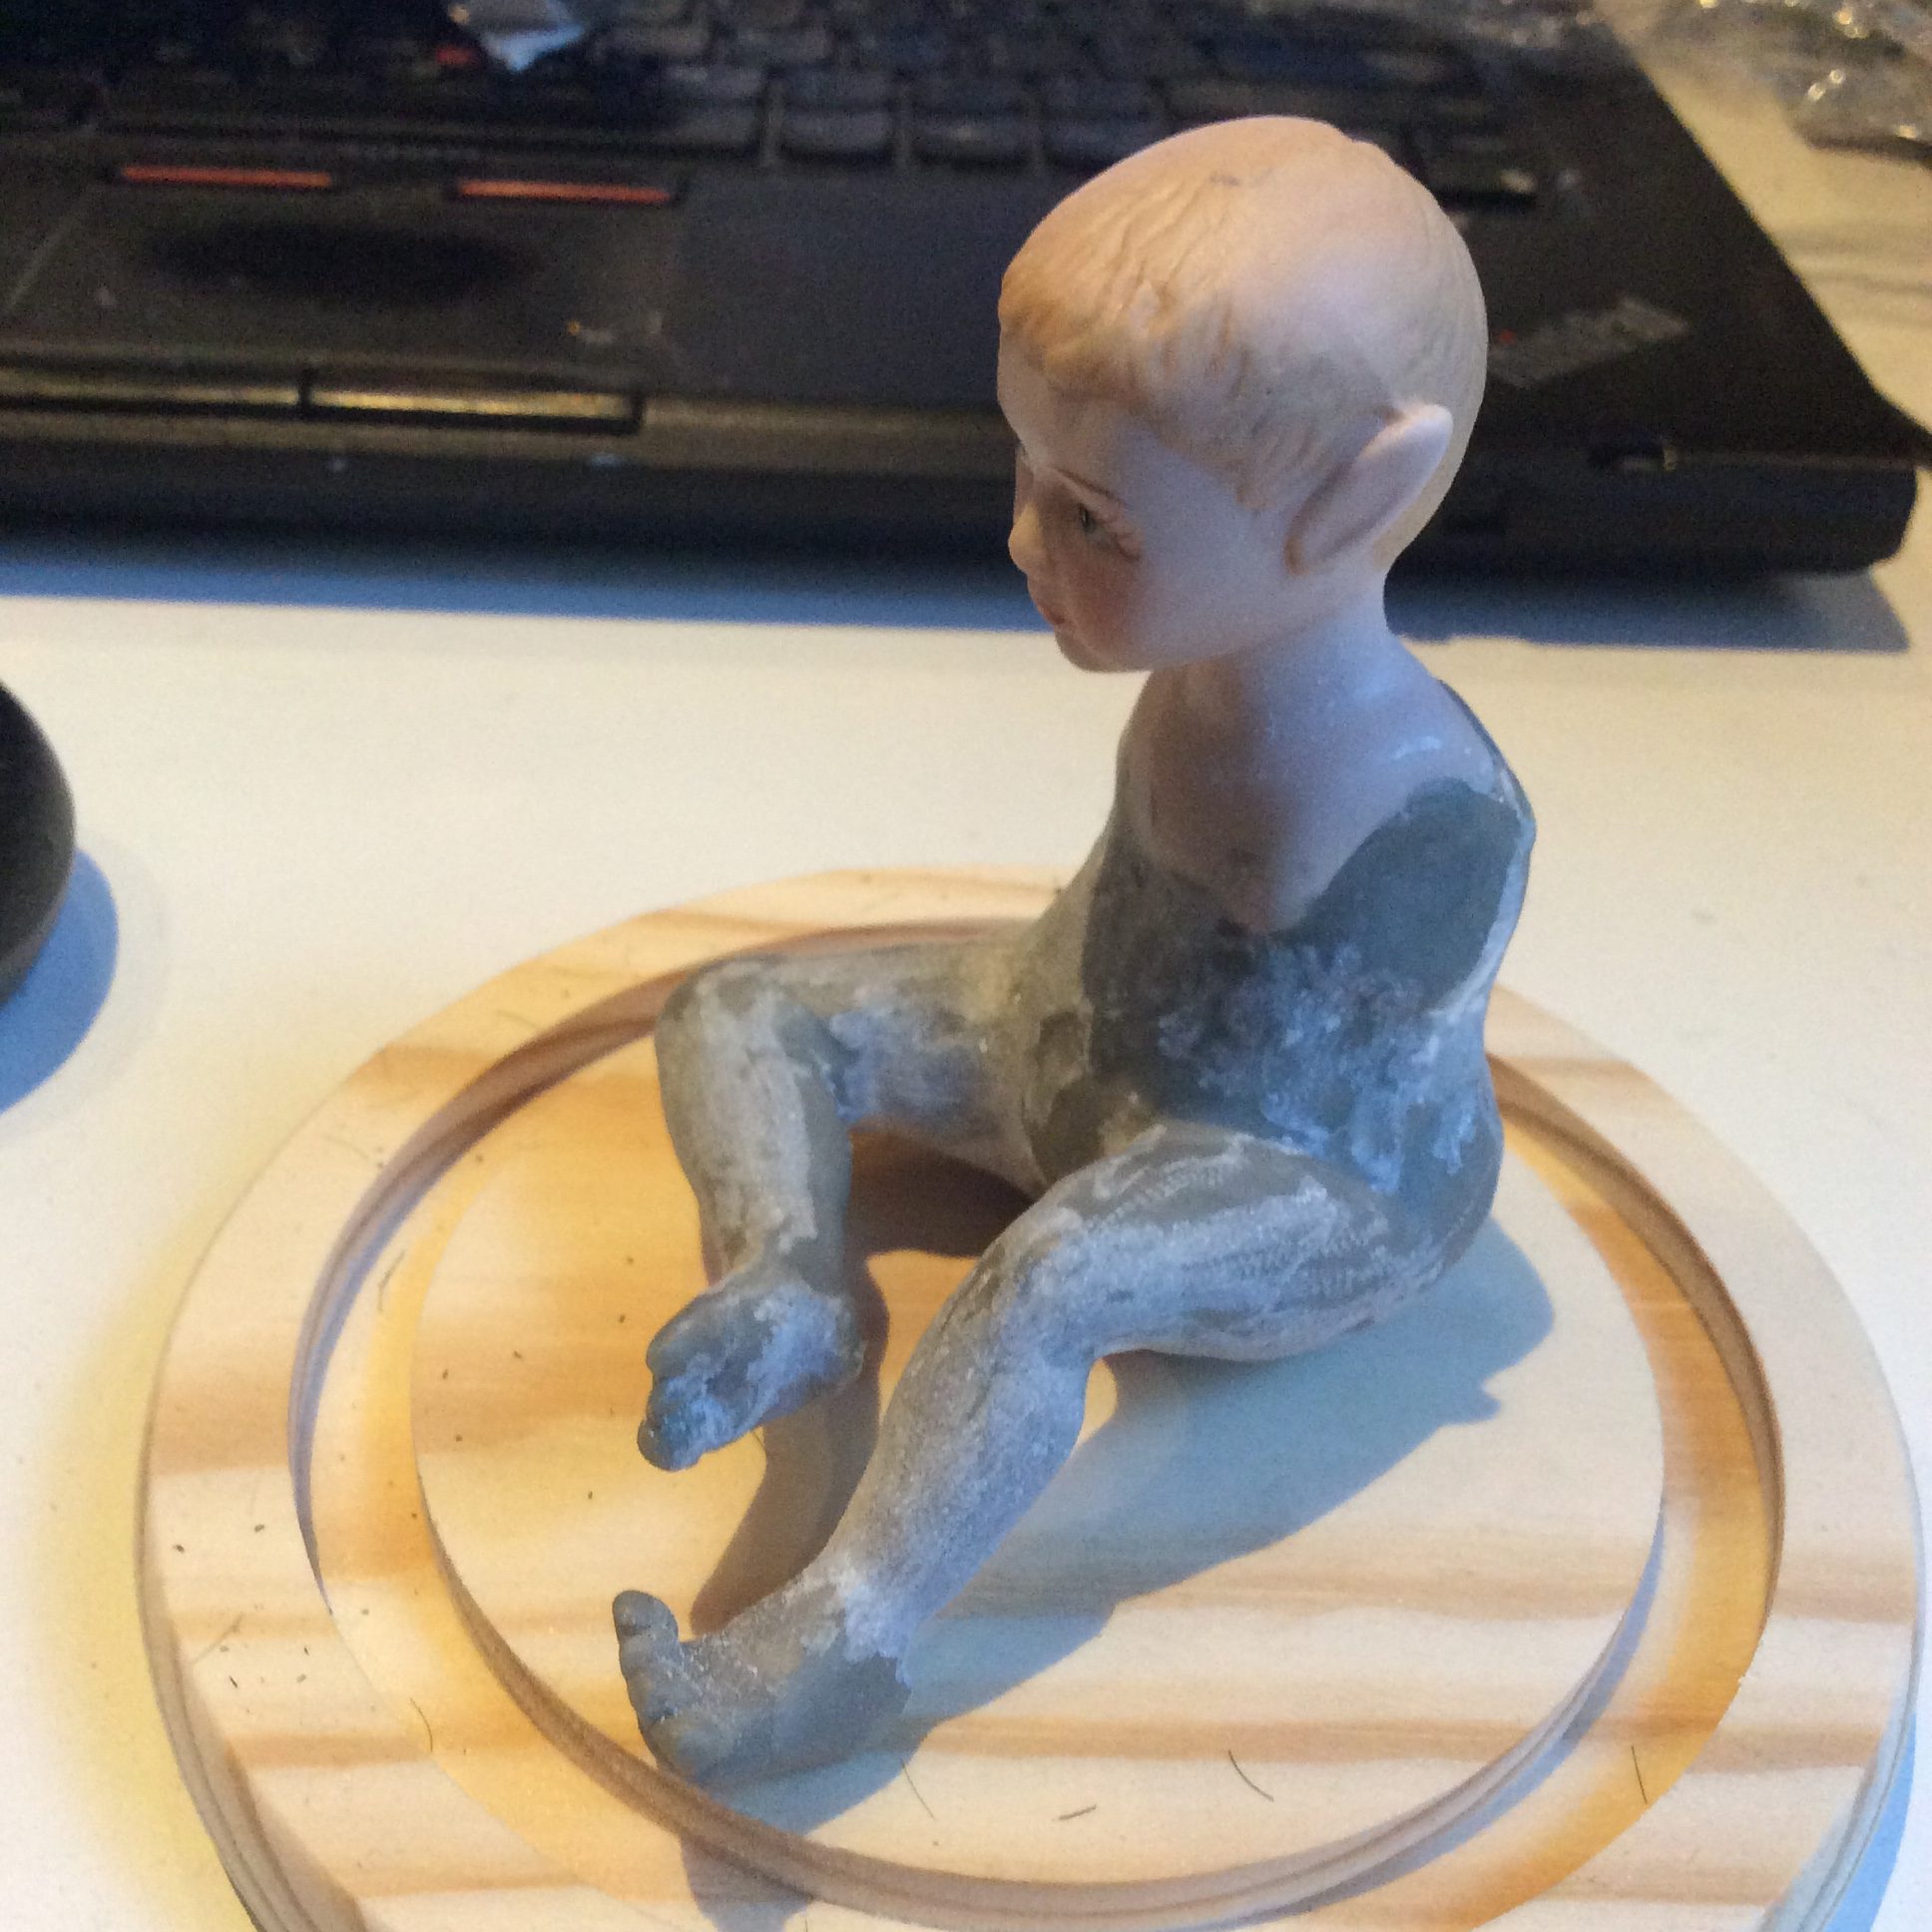 Then I used my fave epoxy clay, Apoxie Sculpt, over that.
Air-dry clay is quite strong, but I wanted the more robust feel and finer detail holding of Apoxie Sculpt for the final layer.
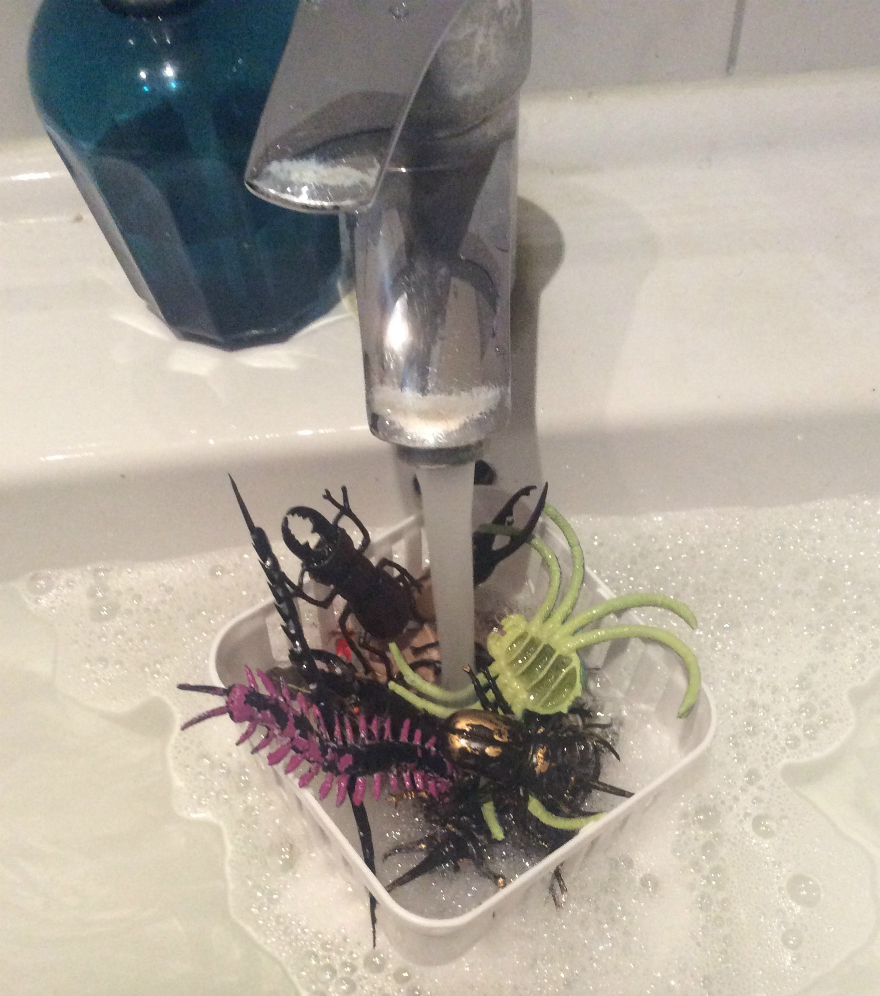
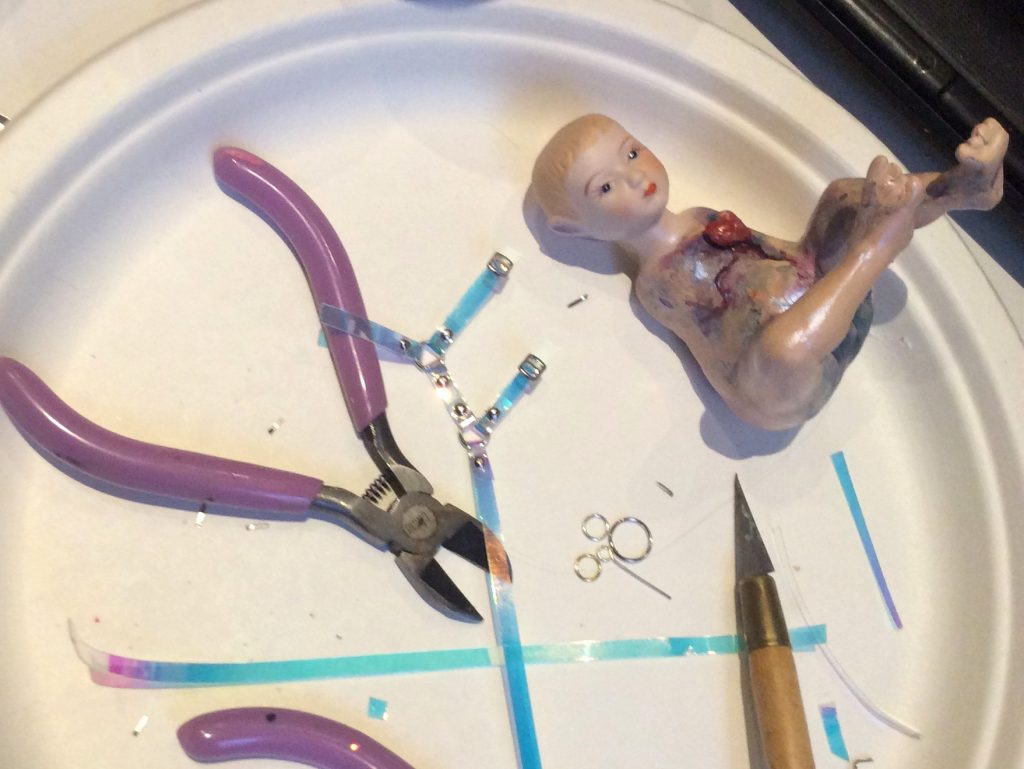
Then I selected two different size cyborg arms from my collection of Alien action figures, given to me years ago by a beloved Friend-Muse-Patron.
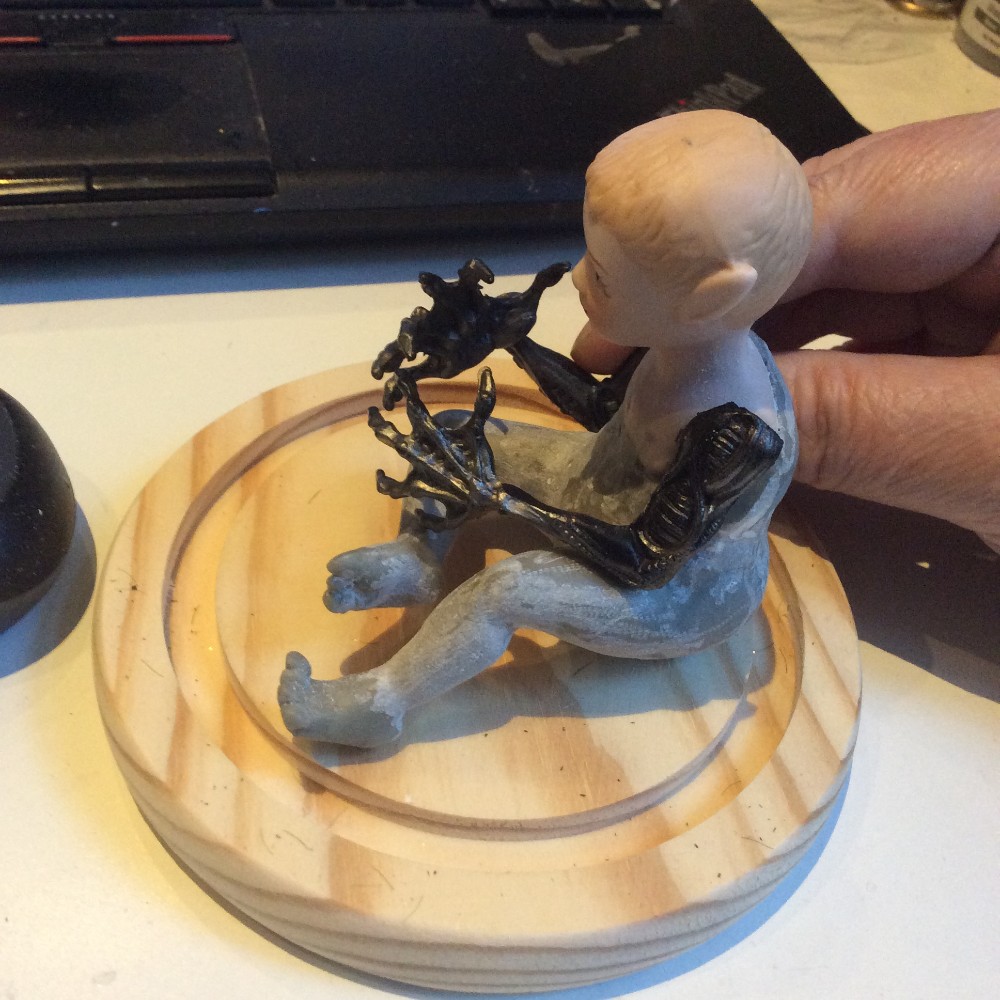 I love Alien action figure arms!
Here you can see the test fitting of the arms. I snipped off extra plastic with my jewelry snips and sanded them to shape with my Tack Life mini-dremel tool. I wanted them to look like doll arms, attached at the shoulder rather than growing out of the shoulder, clearly prosthetic. I painted the figure base and the arms with artist’s acrylic, sealing the arms with a coat of Matte Mod Podge afterwards. I used interference paint here and there for extra gleam.
 I have been obsessing over holographic pvc fetish fashion. For weeks.

 Like this. It’s a madness. A desire so intense for flashing rainbow glitter that there is a #Holosexual hashtag!
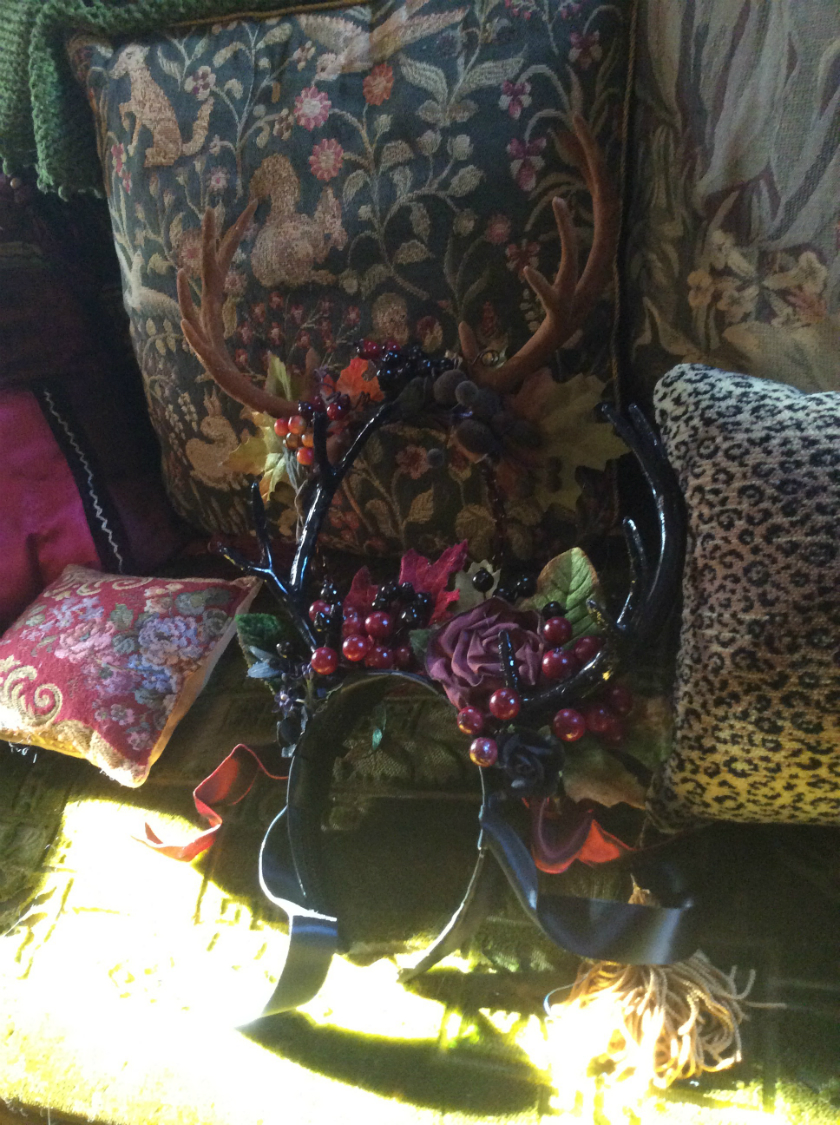
I did two earlier projects, The Fairy Unicorn Rainbow Headband and the Bi Pride Crown, last month, but they did not sate my holo lust. Neither did the bead embroidery projects with holographic pvc I’m working on. Nothing would do but making an actual holographic pvc fetish harness!
Luckily, I had the holographic pvc, a craft knife, a cutting board, jump rings, and tiny brads and buckles. I have been using tiny buckles and hardware from model horse supply company Rio Rondo for years.
Yes, they know kinky fetish people use their stuff for things like Barbie Bondage. No, they still haven’t updated their website!
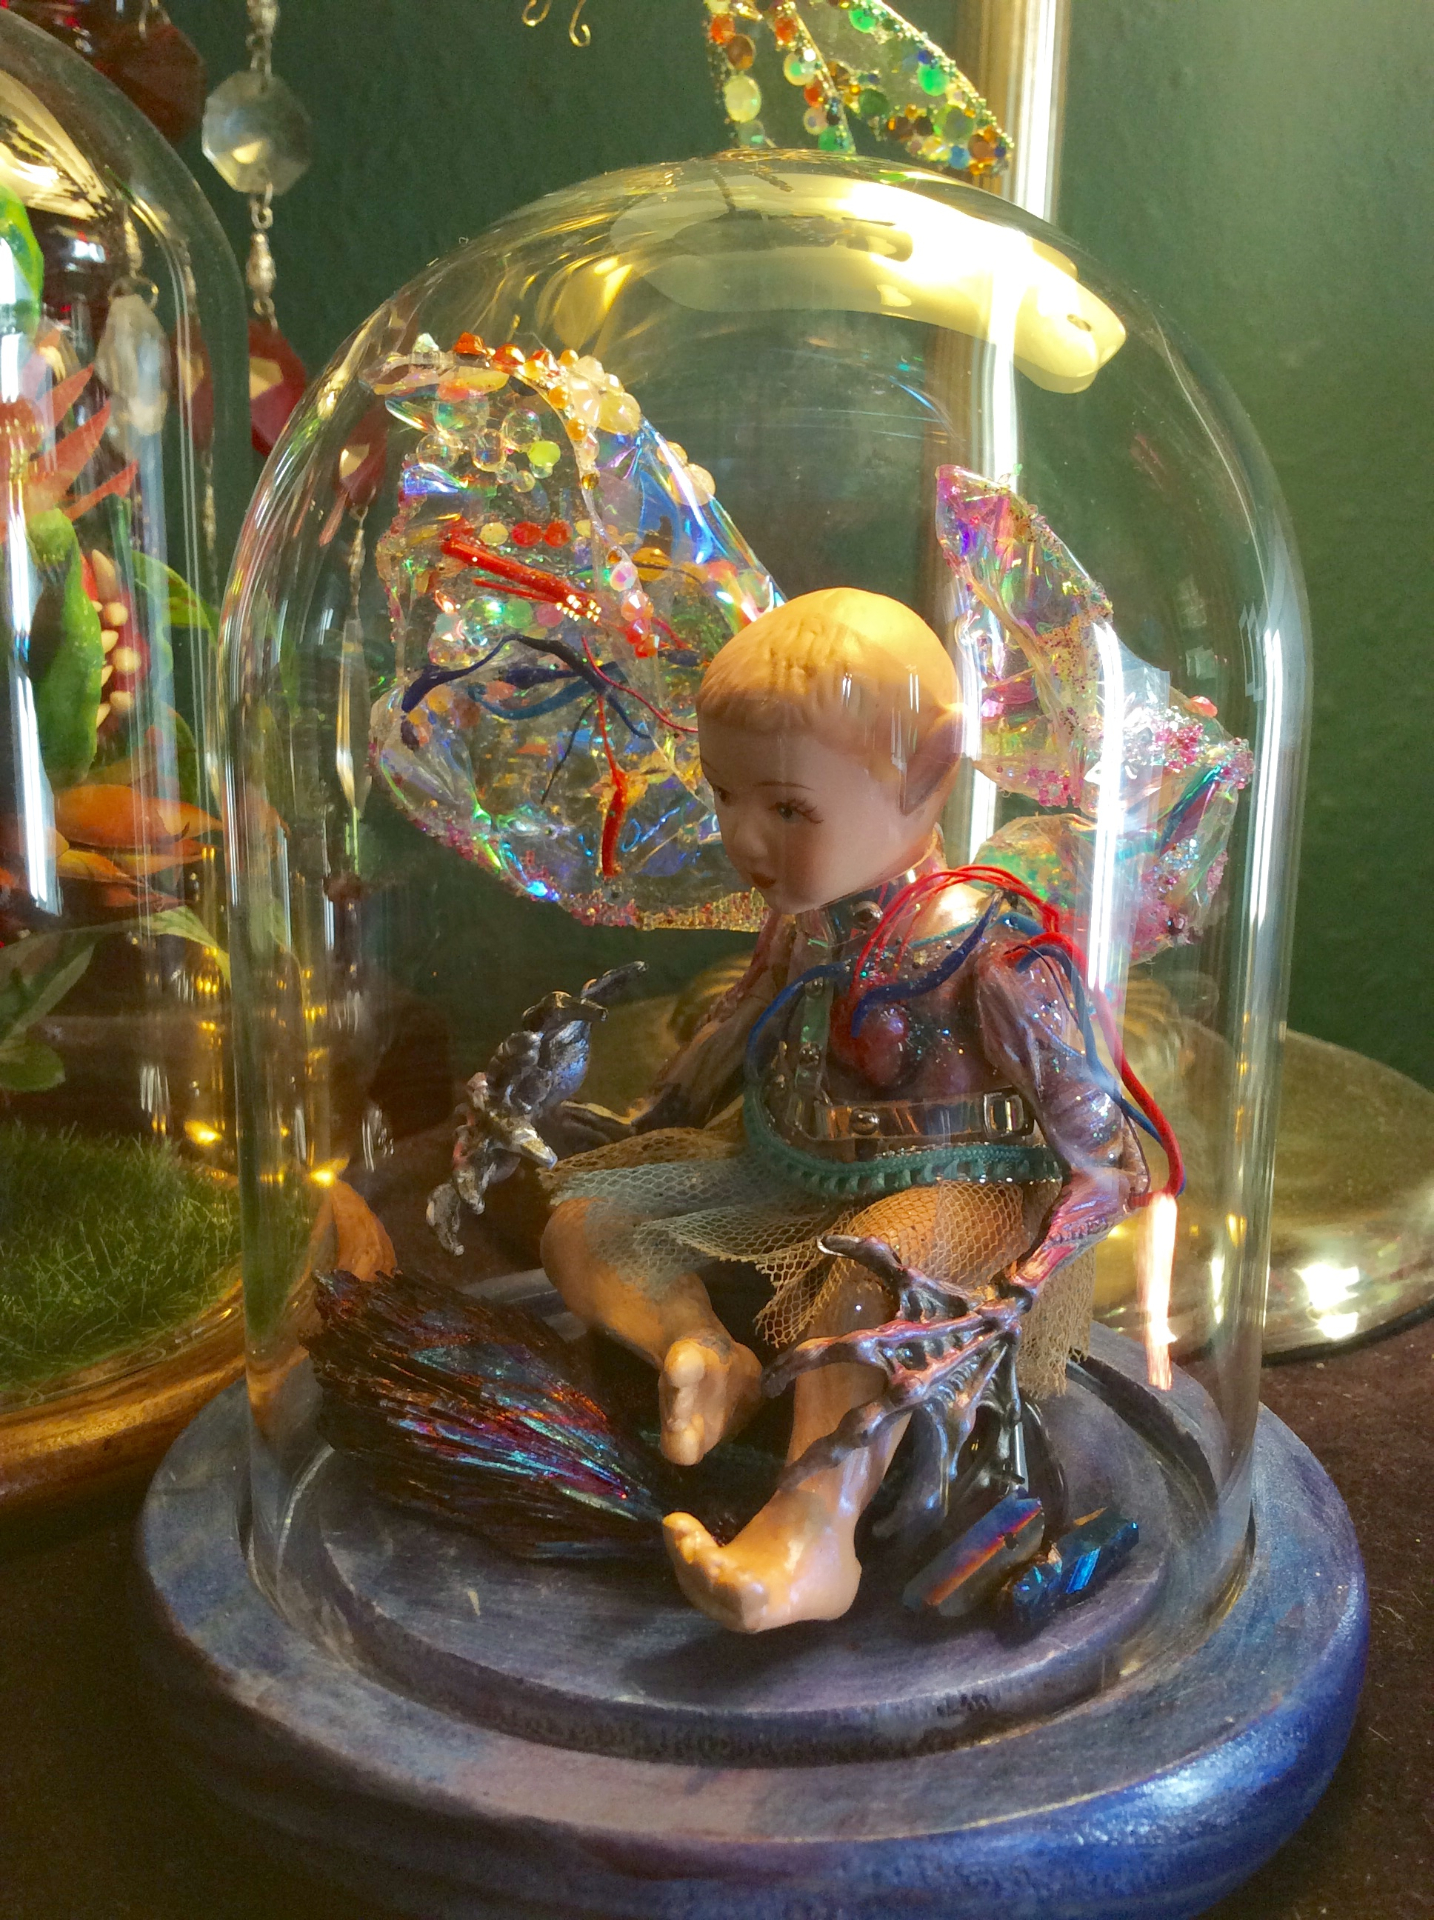
I made Lux’s heart out of a mix of translucent red Fimo, Premo Sculpey Opal clay, Fimo effects bronze, and plain translucent Fimo. I had the idea it would be an external heart, with veins coming from it, and there would be a clear layer of resin encasing it. So I broke into my UV-curing resin! I bought some UV resin to try a couple months ago, but hadn’t touched it.
Last fall I asked fellow miniature crafter (and Ms. DTLA!) AfroDisiac about using UV resin when I saw her mention it. She reassured me but I was still afraid! UV resin is mostly made in Japan, and there just aren’t that many online resources in English to learn about using it. This project made me jump in at last. And I love it!!!
I wanted to use UV resin because of several of its properties: clarity, shine, lack of yellowing, and hardness.
I felt like it would be strong enough to hold wire “veins” in place and let me bend and manipulate them, and in fact it is! I crazy-glued the veins on and then squeezed resin over. The resin seems goopy going on, but self-levels smoothly within a few minutes. Because of the spreading out, you really have to work in thin layers if you don’t have a bezel or a UV oven.
I bought an LED UV flashlight, but it wasn’t powerful enough to properly cure the resin I have, which is not intended for LED curing. It’s Padico, which is a very popular brand, and they do have one which is both LED and UV quick-curing. I will definitely get that next time!
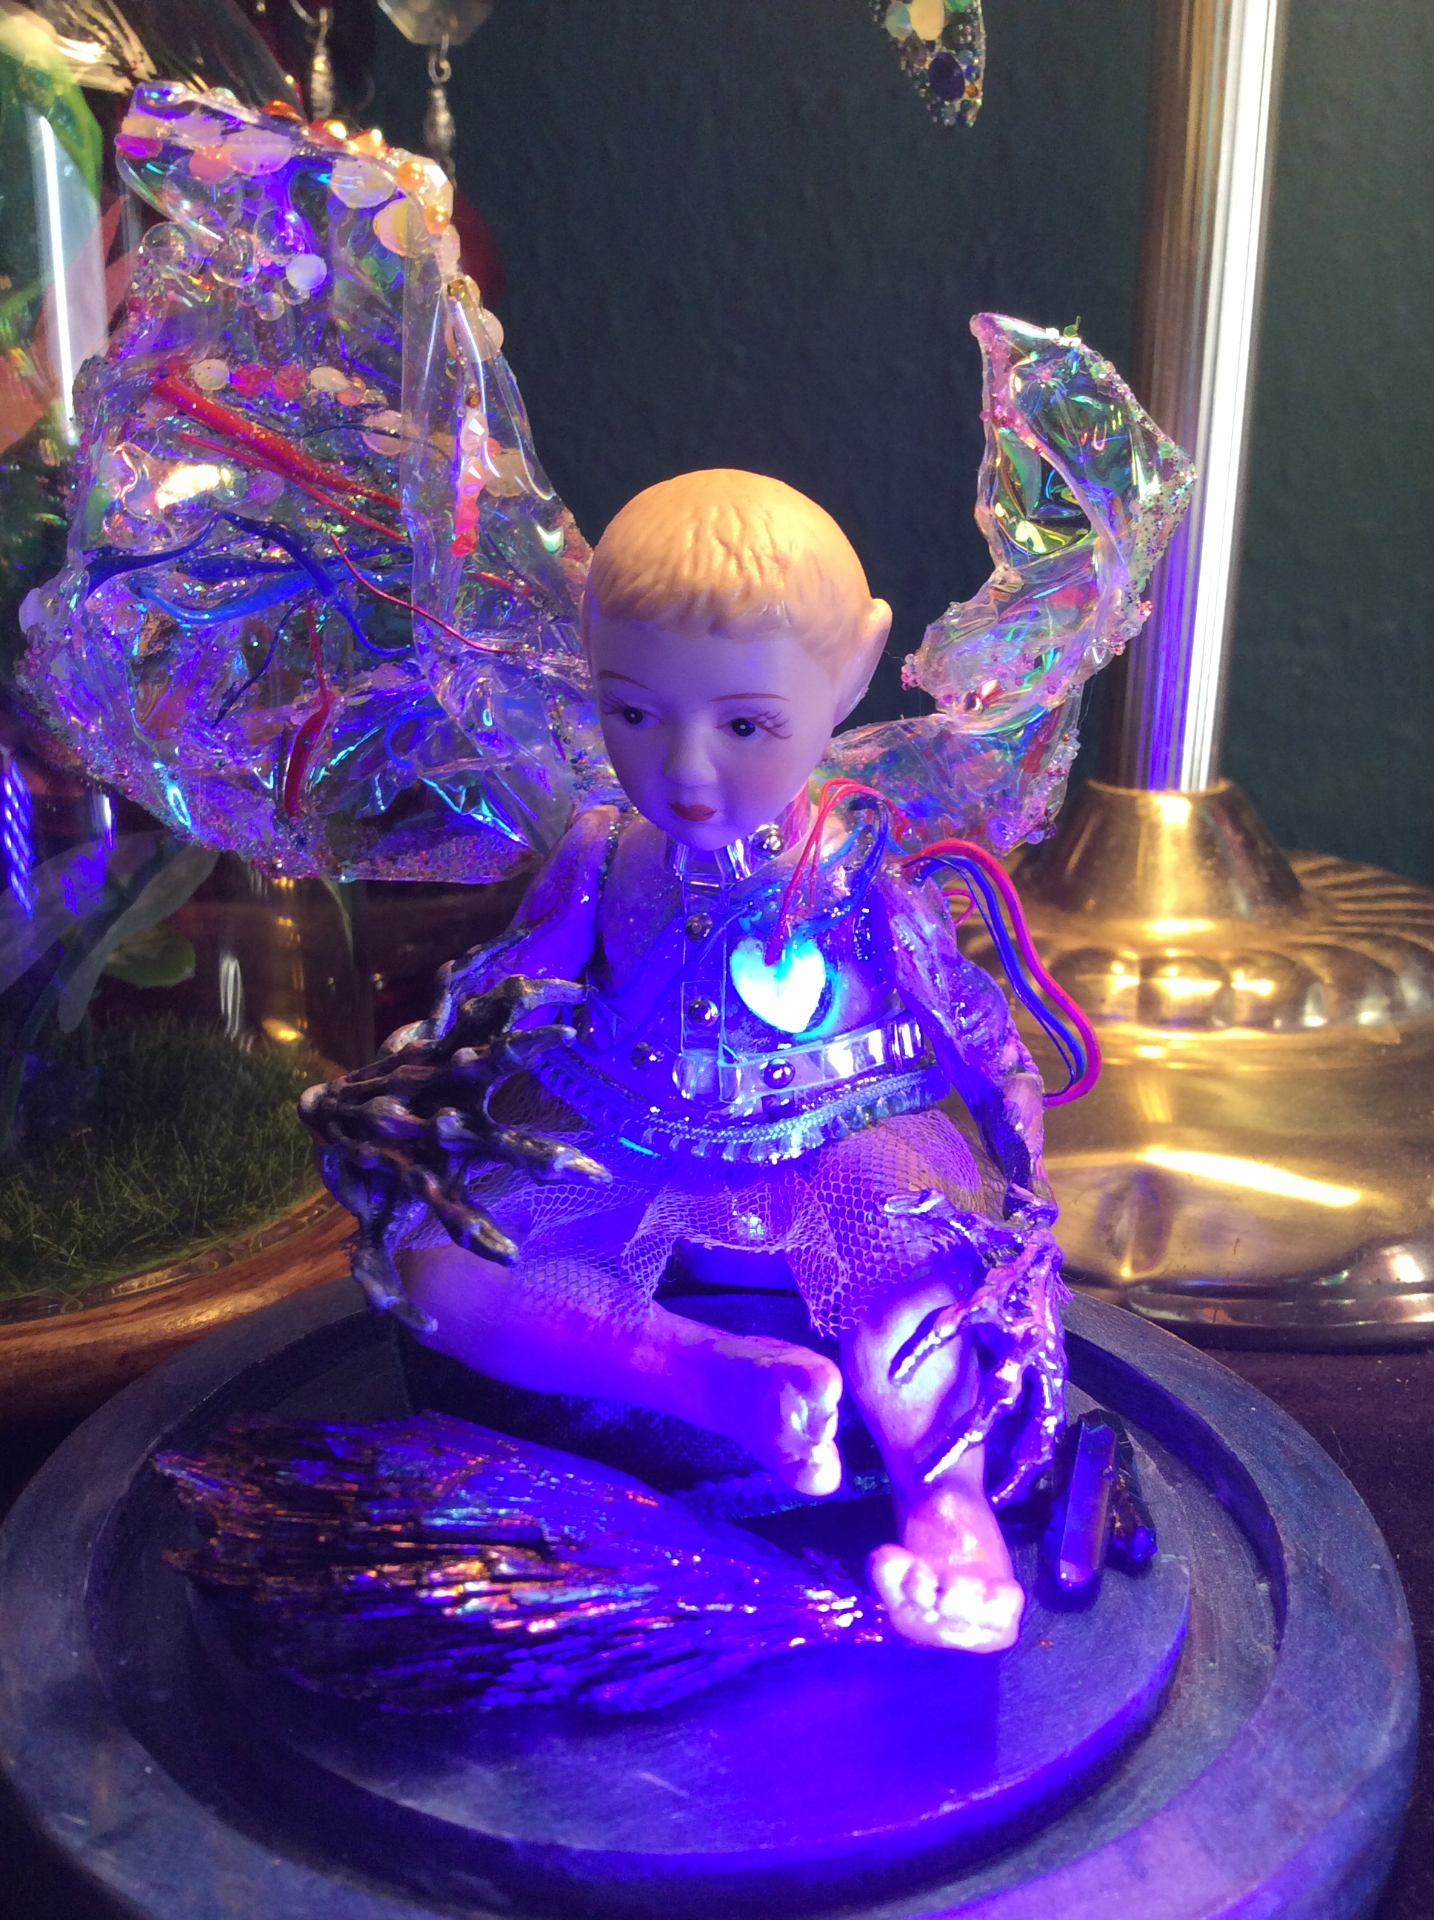
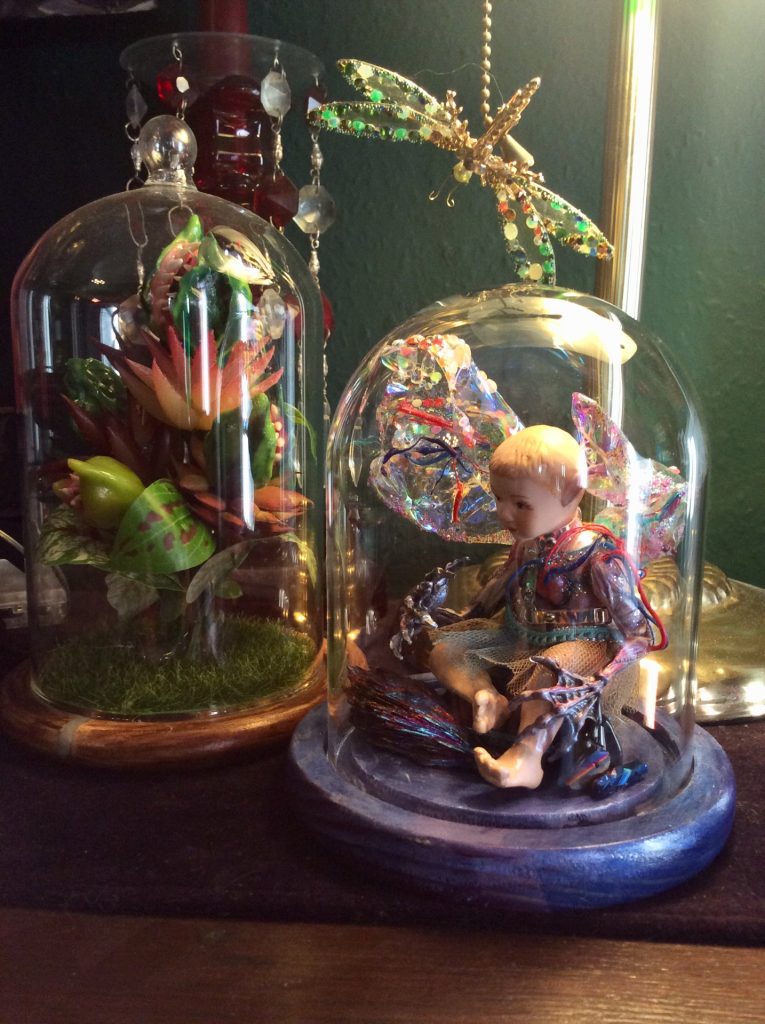 Lux’s wings are Angelina Fantasy Film.

I discuss the issue of how to purchase this product, when “Angelina Fantasy Film” is ungoogleable, here. Fearless Pink Gay Santa is the first project I made with Fantasy Film. The veins in Lux’s wings are wire and lengths of PLA filament (from the 3D printer pen my mom-in-law got me!) that I stretched and shaped using a lighter.
I have no idea why Lux’s heart glows under the UV light from the LED flashlight. I was mightily surprised to learn it! Maybe one of the Fimo clays I used was glow-in-the-dark, not transparent?
It’s a trip, right? So is my journey of learning to see beauty in all forms.
Other bricolage dolls and fairies I have made:
The Gothest Action Figure Custom ever.
Valentine’s Monster Doll Armada