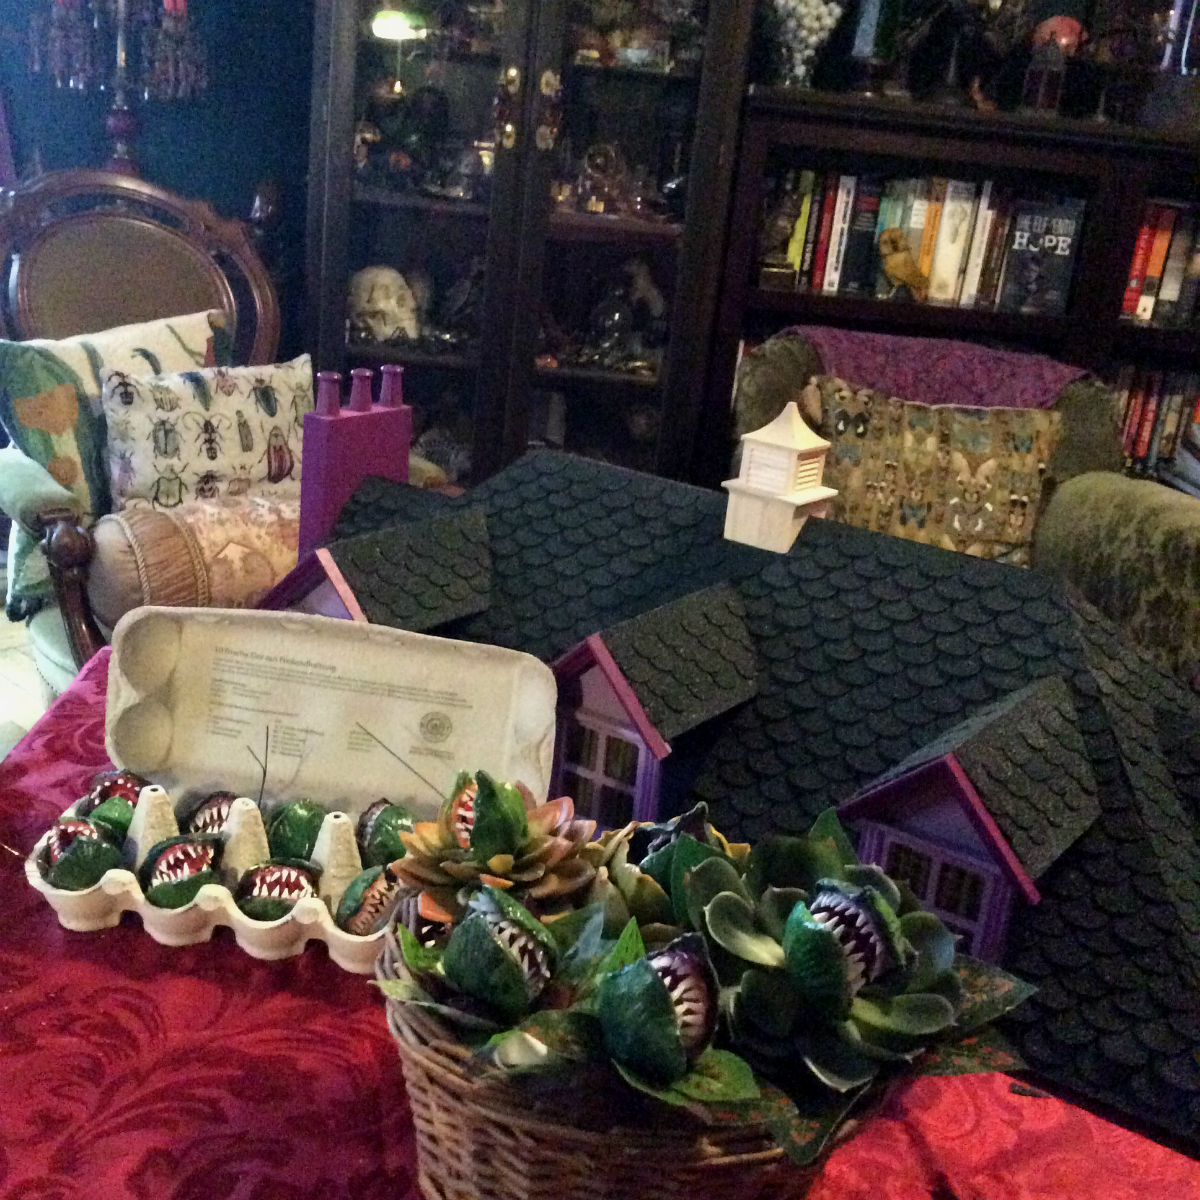
 Good heavens. The insect outfit project got a little out of hand.
Typical for me! 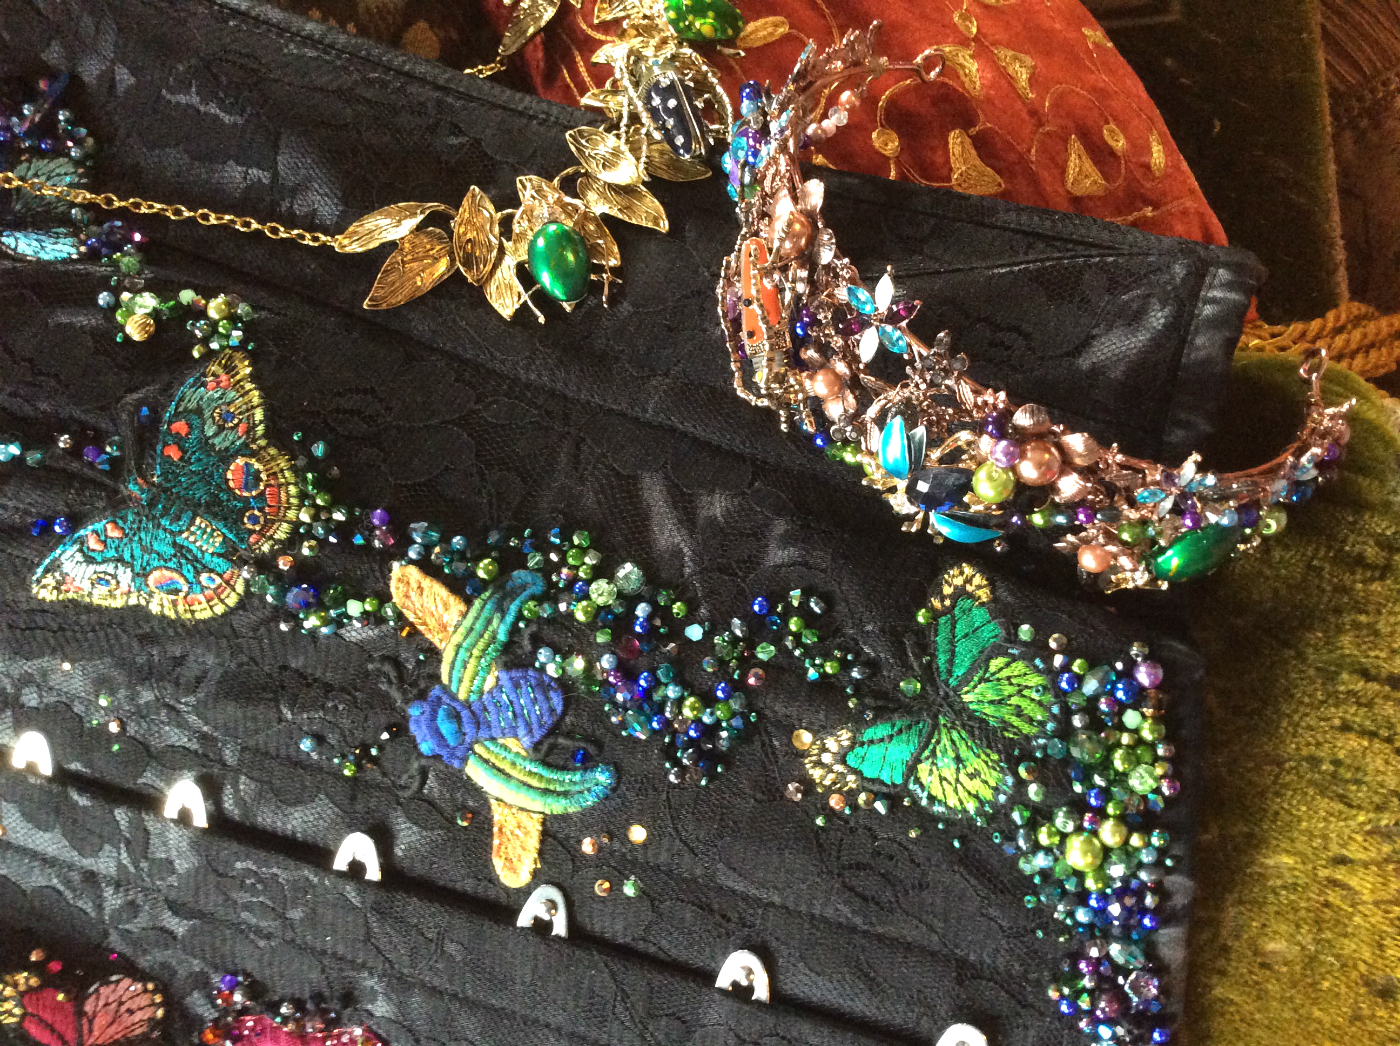
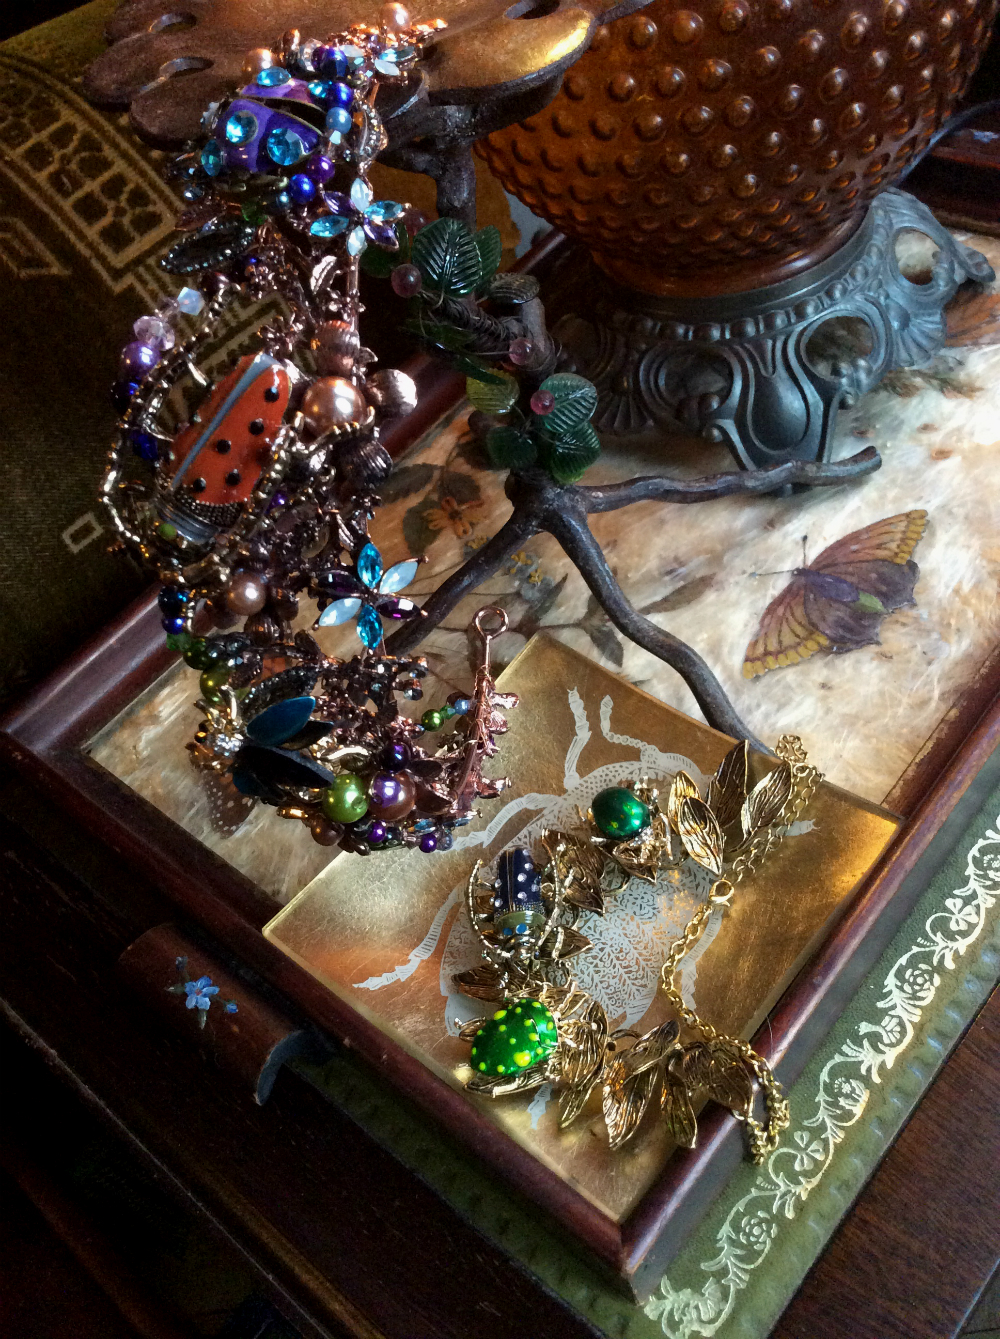
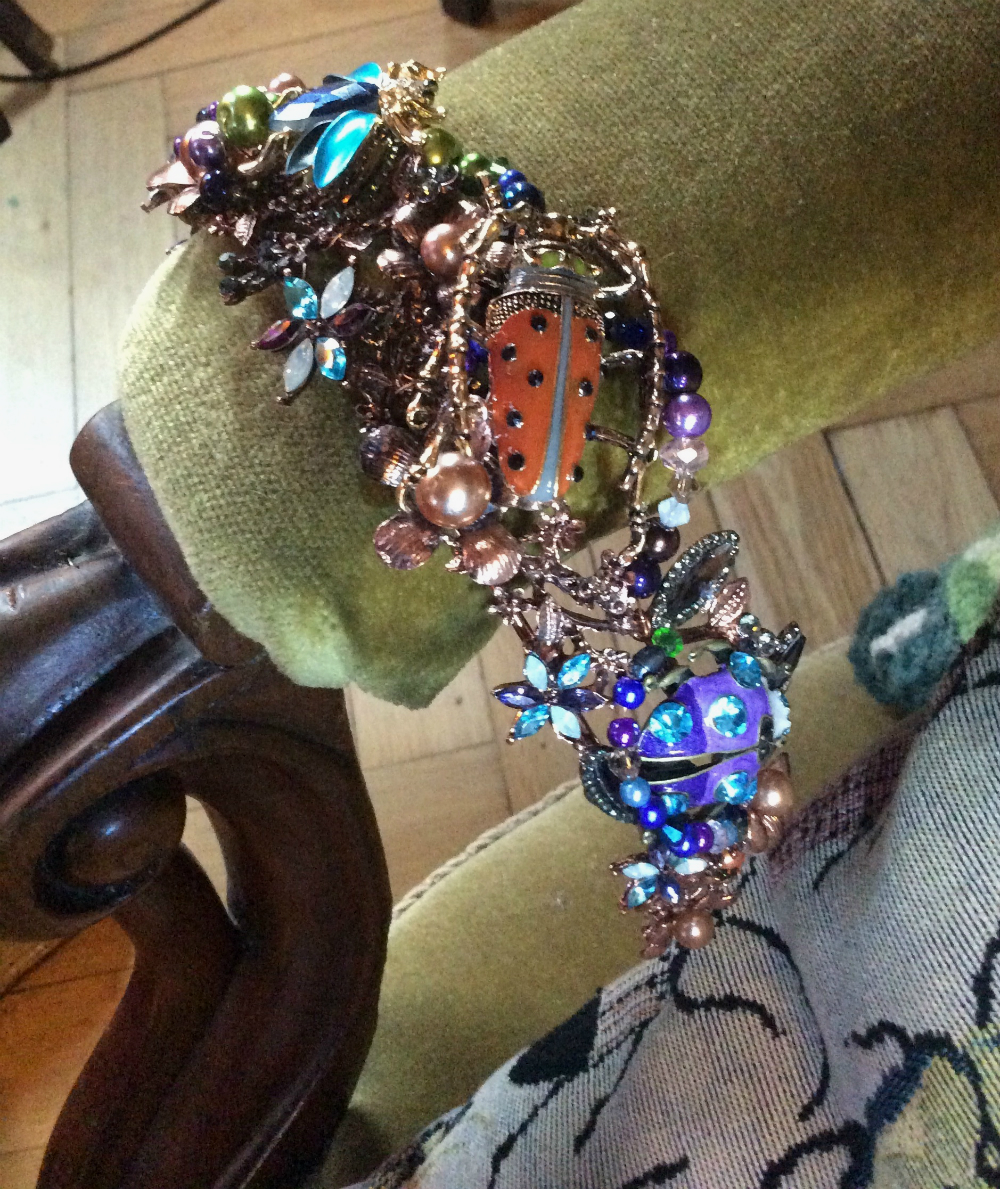 I made a tiara, using my usual method of embellishing an existing metal flora tiara with decorative elements. This time, beetle brooches and wired loops of iridescent beads and crystals. The beads were left over from the corset.
The beetle brooches are inexpensive enameled pot metal, bought on eBay. They are the last of my cheap art materials bought by mail, as I’m taking a consumer break and eliminating non-local purchases as much as I can. I have enough 3D art supplies to make bricolage stuff for years anyway!
I always wire everything on, for strength.
I had some copper wire that matched the tiara, but I also used gold to split the difference between the base color of the beetles. My design/decorating motto is always, add more stuff til it all goes together/the mistakes are hidden/it has so many colors it will match anything.
I use E6000 on top of the wire to cover any scratchy sharp wire ends and stabilize the knots and connections.
 Halfway through, I ran out of regular E6000 and had to order the new “odorless” E6000 Plus. My Beloved Friend, Muse and Patron Monique Motil, master costumier, often said of E6000, “The bad smell is how you know it’s gonna work!” and I would laugh.
Of course, I’ve always been a person who was totally cavalier about chemicals and fumes, because of my misspent youth, but now that I have overlapping autoimmune diseases I’m rethinking that.
So I was willing to try the new version, but I was initially disappointed. E6000 Plus is described as self-leveling, and tbh the old kind was too, but I find the Plus a bit runnier.
Regarding adhesion, I tested the bond a few hours on, when the glue was dry to the touch, and the glue blobs peeled right off!
 However, I love to research adhesives, and I read on a forum that the bond isn’t strong til the glue is fully cured. And behold, after 24 hours the bonds seem pretty good.
So, making the switch to E6000Plus until I can get some nontoxic GemTak, which my Beloved Friend and Muse Noéline la Bouche swears by, as does master headdress maker Sylva of Bubbles and Frown.
For the necklace I prised off the pinback parts of some beetle brooches. The brooches are made of fairly soft pot metal and the pinback portions are generally soldered on; they can usually be broken off with jewelry pliers.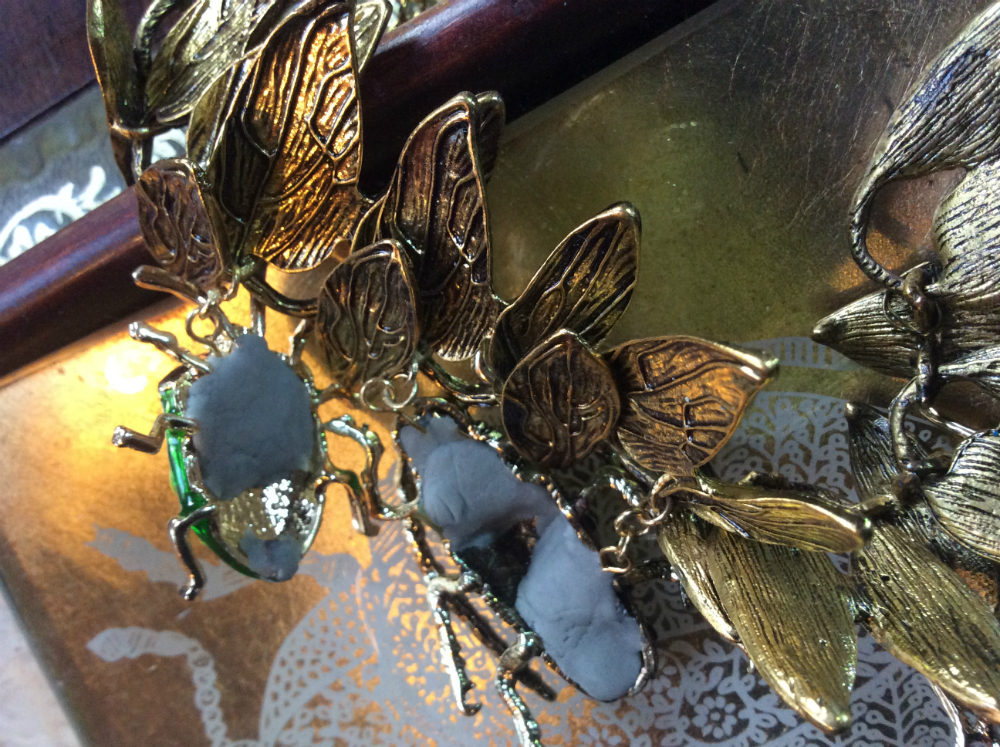
Suz’s most serious crafting and bricolage tip: have a set of jewelry tools at your elbow at your worktable.
You will use them every day, although rarely for actual jewelry. The broken solder left sharp, ragged edges, but rather than file them down (I’m working on the dust exposure problem too!) I just covered them with the Apoxie Sculpt I used to attach the eye pins.
The stems of the eye pins were quickly formed into loops to give the epoxy clay something to secure – even though Apoxie Sculpt adheres well to metal, a straight pin could pull out. Once the Apoxie Sculpt was cured, I used jump rings to attach the beetles to a cheap pot metal necklace. The jump rings give the bugs a little movement which is fun, and keep them from fouling the links of the necklace.
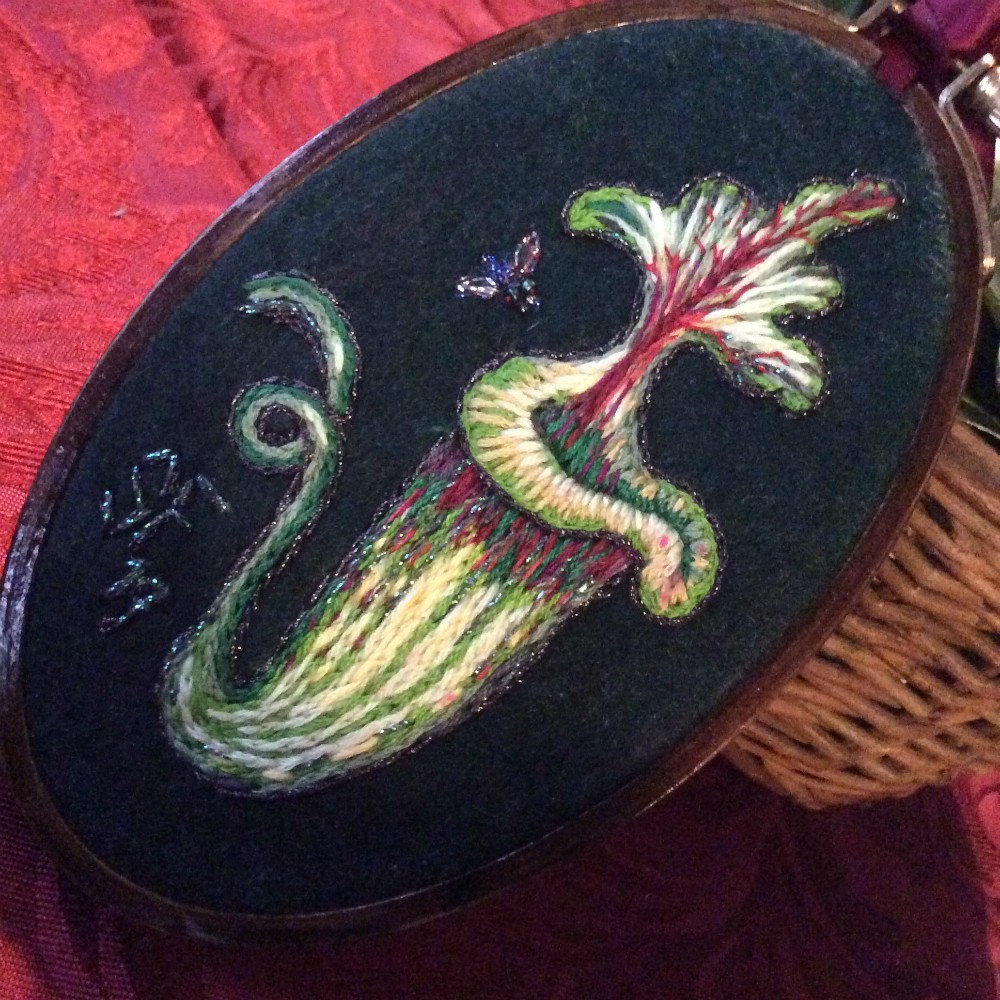
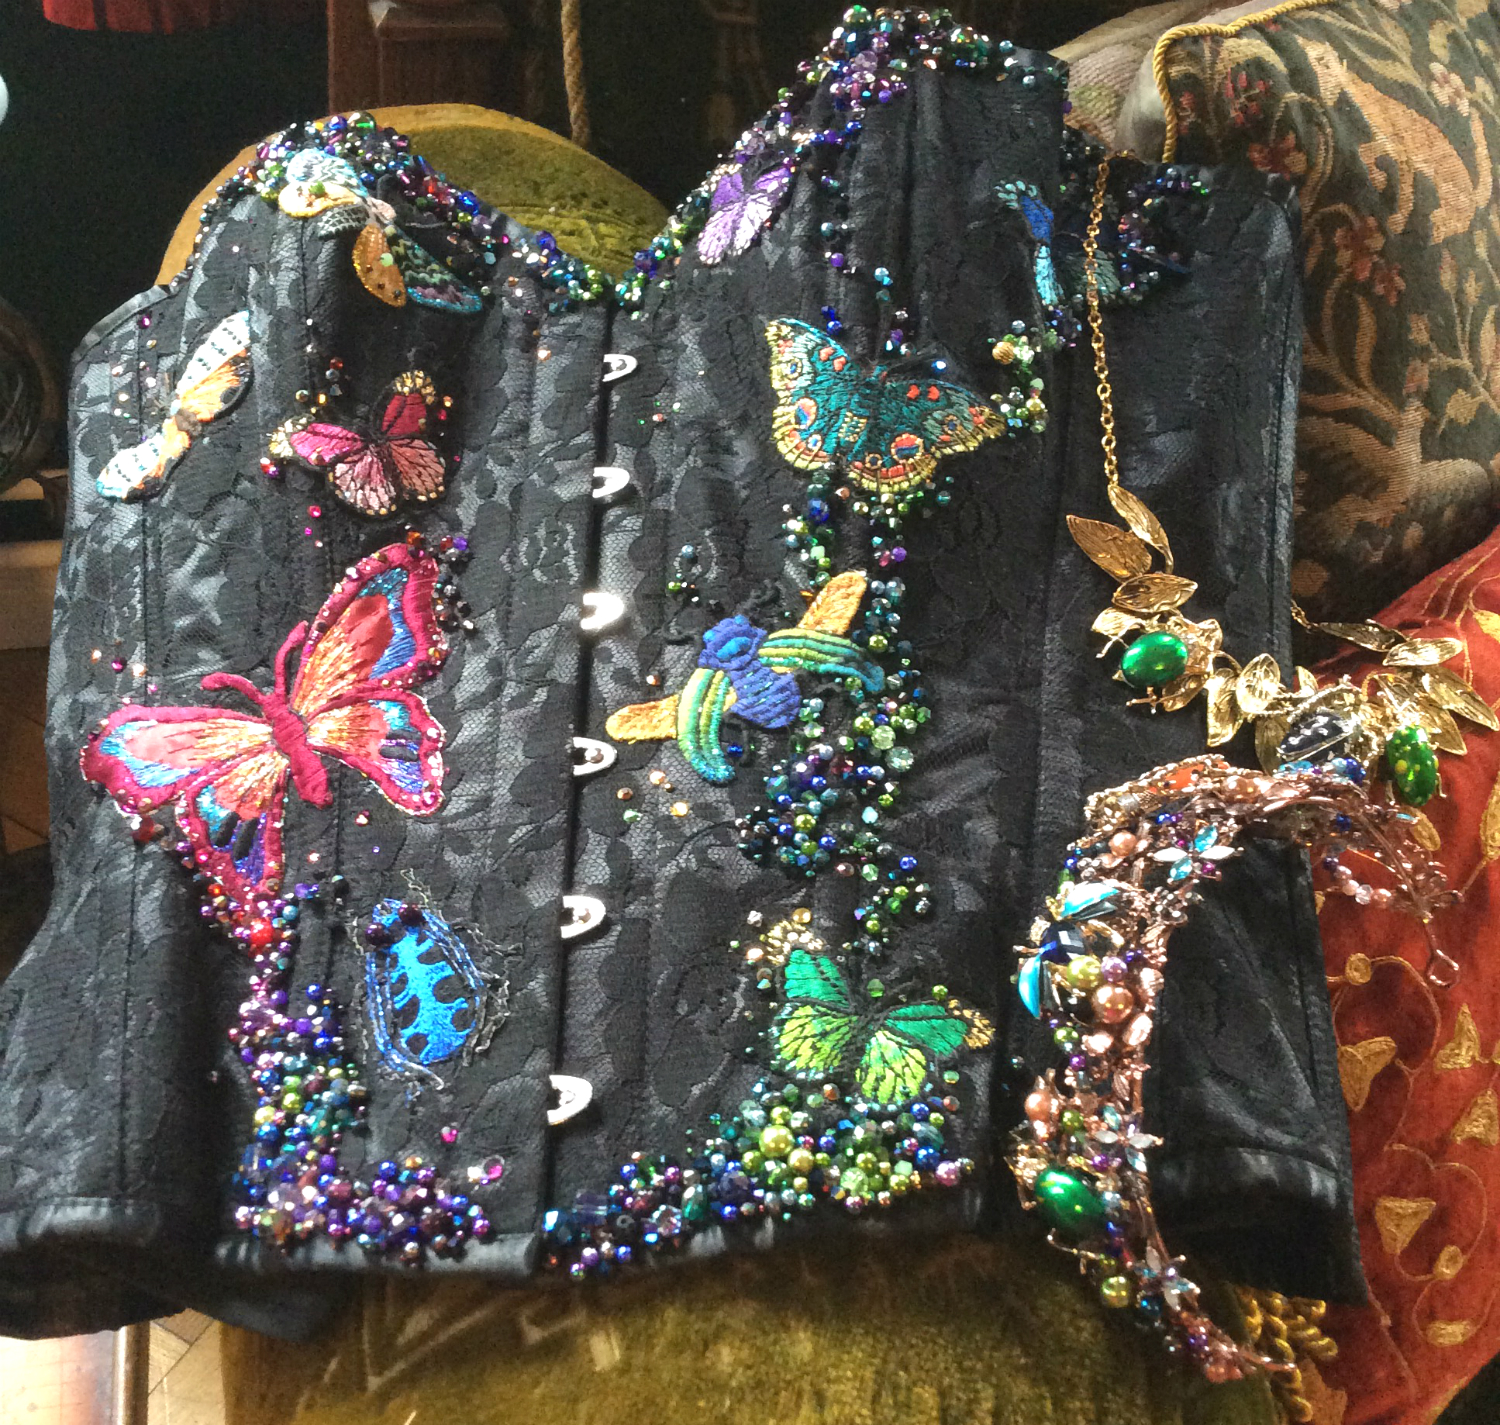
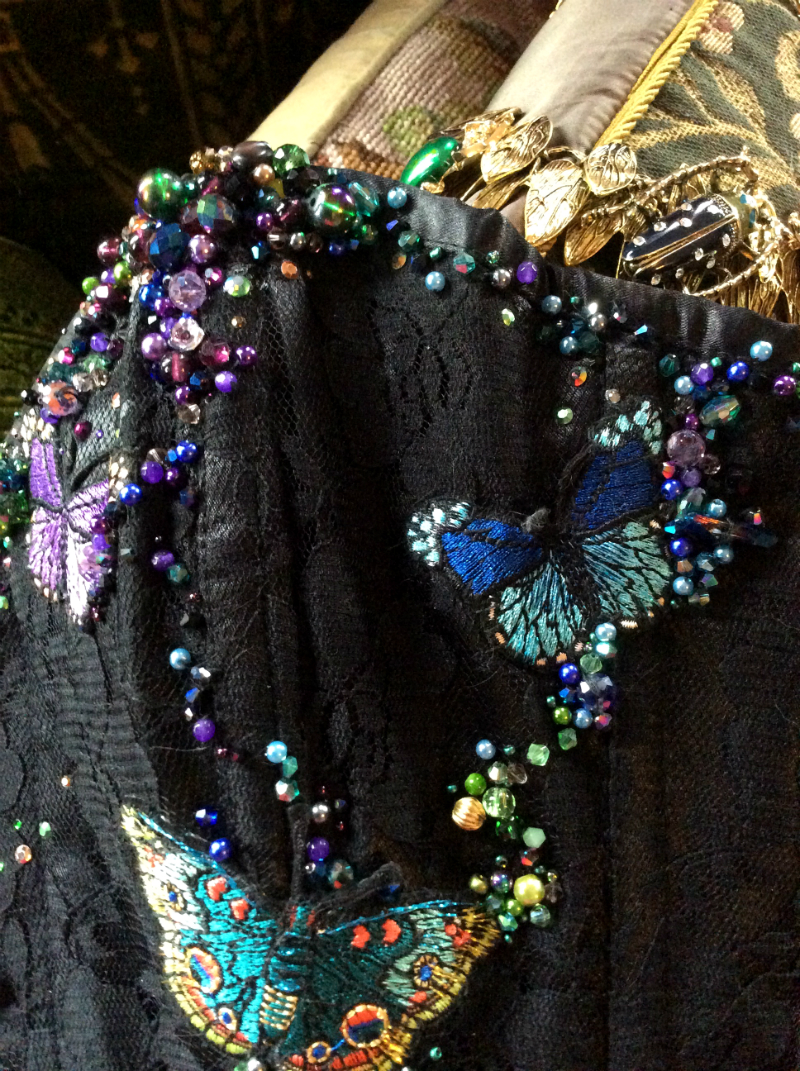
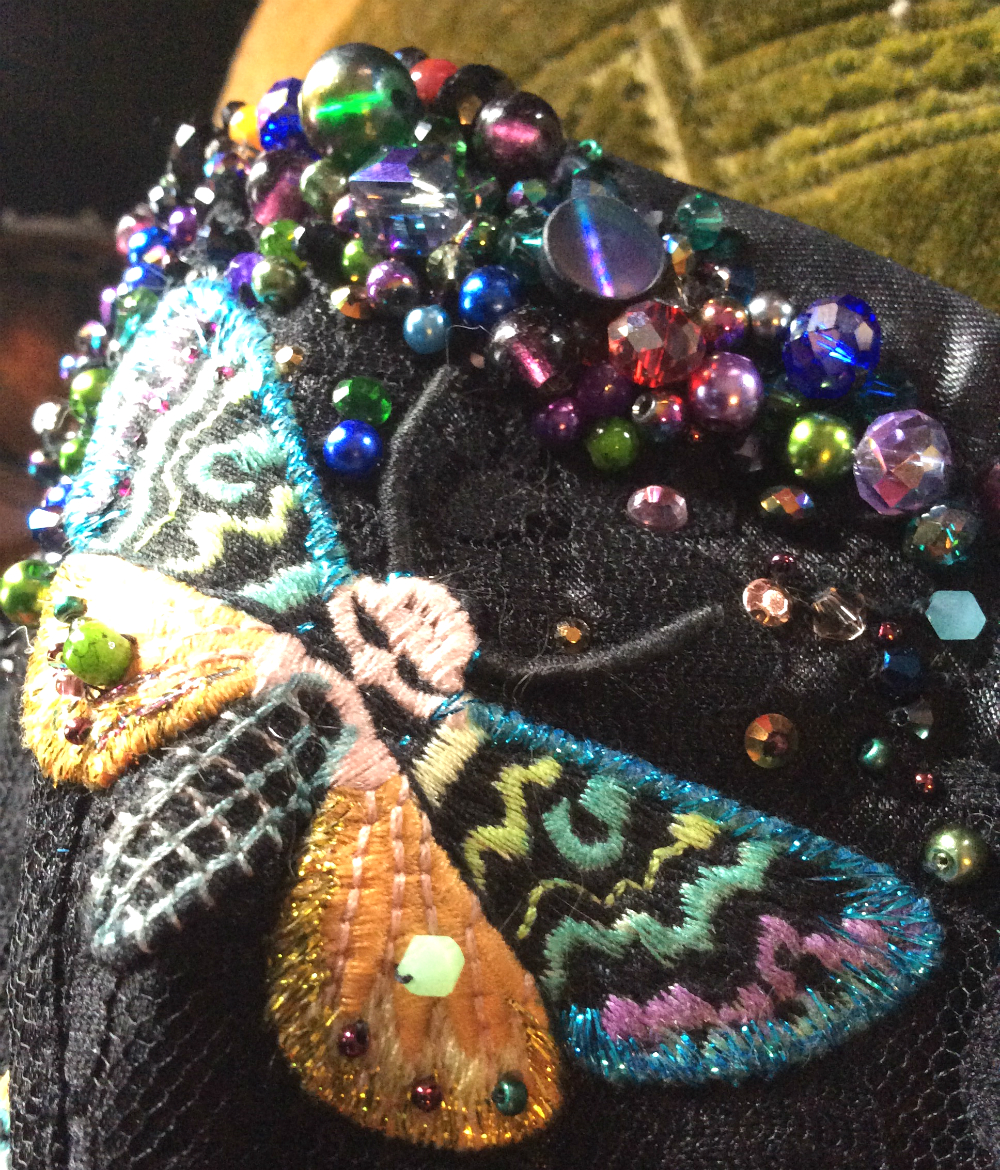
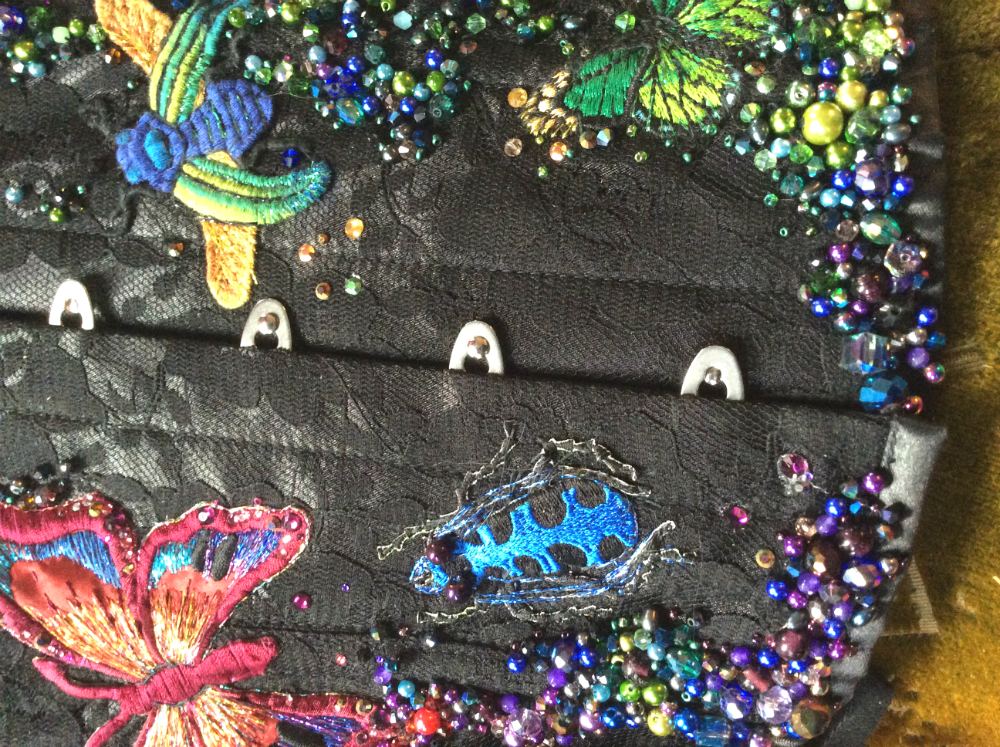 Finishing the corset was just a matter of another forty or fifty hours of beading and embroidering.
I used a lot of metallic filament at the end, to unify the machine-embroidered appliques with the beading and the crystals. I got the colored metallic filaments, which are plastic rather than thread, in a pack of ten colors at the Euro store.
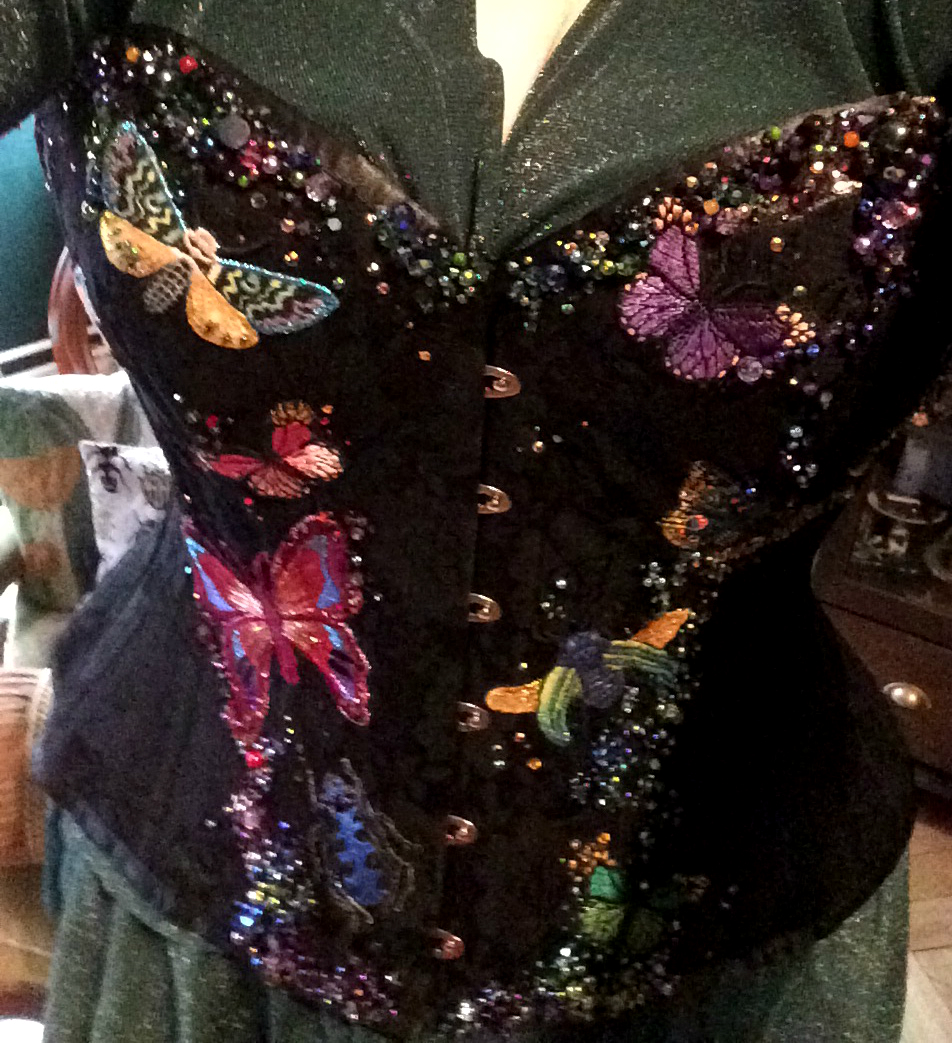 I have used up my whole supply now and gotta find some more, as most metallic embroidery thread is simply the devil’s dingleberries.
 (I did not make up that phrase. One of my boyfriends, astonished at my passion for capers, said that “Capers are the Devil’s dingleberries.” Not something one forgets.)
 I was planning to attach some beetle brooches to it, but in the end I decided they would catch everything even more than the 3D crust of beading. So I will simply pin them on to my top.