 It may not be the creepiest, but it was definitely one of the trickiest!
 It takes a LOT for me to give up on a project. I may delay it, it may take me twenty years to finish, but for me to outright give up on a creative piece in process and throw it out is incredibly rare.
It happened with this one, though – I got well into a first iteration of this creepy insect boudoir seat and had to give up.
It was a technical problem, basically. I’ve talked a lot about how my experiments with mixed media and bricolage are informed by my interest in action figure customizing.
I’ve learned a tremendous amount about how to prime and paint plastic items from action figure custom forums, over the last eighteen years.
In 2001 I used to sit at my desk at ESC, the visual effects company where I worked on the Matrix sequels, and read about “orange peel” and paint rub.
Painting plastic has evolved over the years, but it’s still unpredictable. And moving from the US to Germany meant everything I’d learned about Krylon and Rustoleum had to be thrown out the window and relearned with Dupli-Color. Dupli-Color, founded in the US but now the ubiquitous hardware store spraypaint of Europe, has several different formulations for priming and painting plastic.
For the last four years I’ve been trying to learn all their tricks; I talk a lot about techniques I used for my last bas-relief insect project here. So when I wanted to make a seat for our hallway, I felt pretty confident.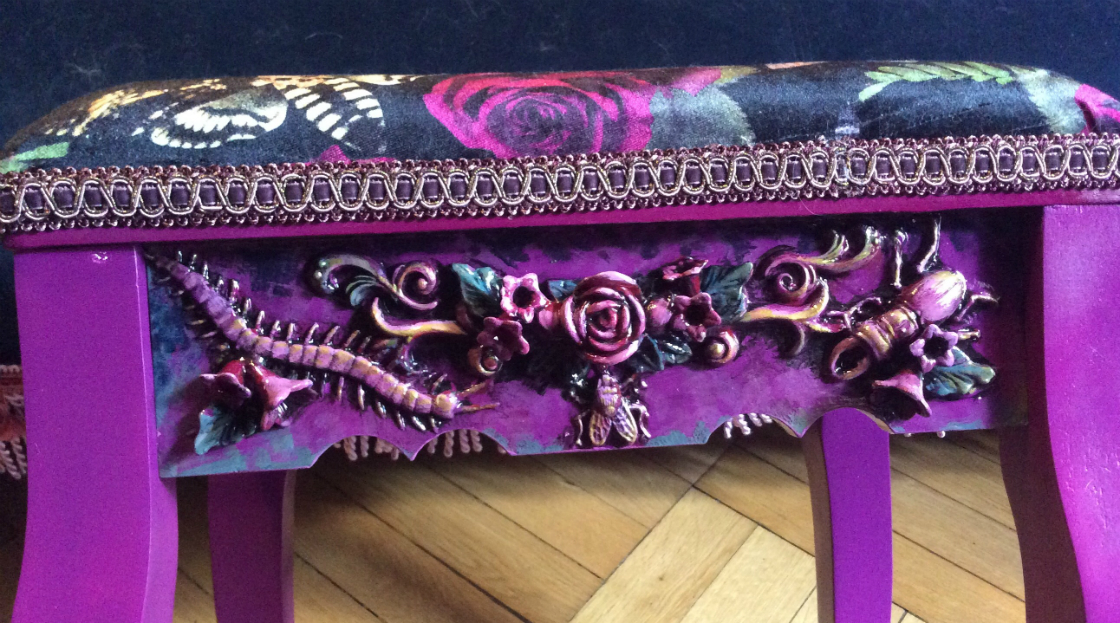
Because we don’t have cell phones, but we do have a landline, we needed a little seat for the telephone in the hall.
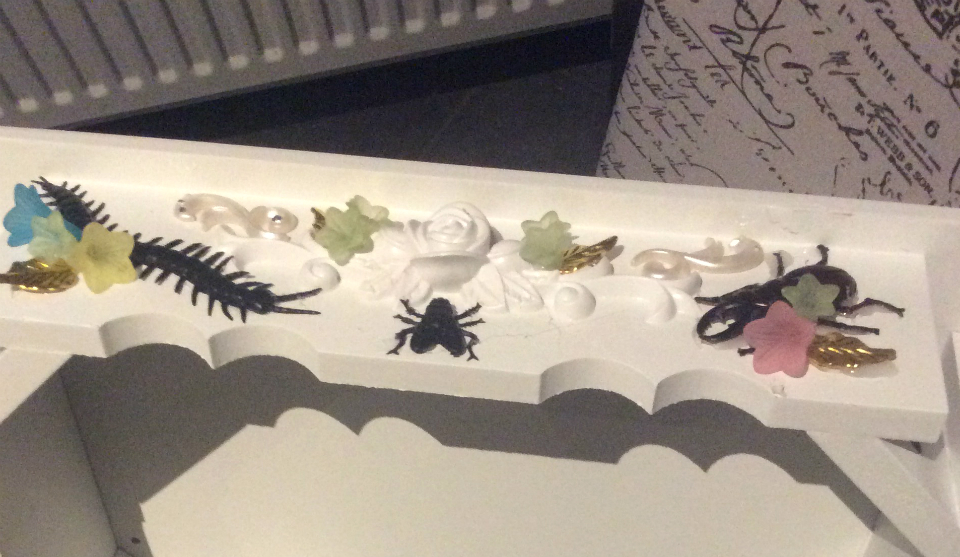
We’re always dragging a chair in from the library when we need to call a doctor or something. I had the idea of buying a simple boudoir stool on Amazon and decorating it to fit the hall, which is perhaps the creepiest part of our whole creepy house. I ordered it and it arrived. I removed the seat, which I planned to re-cover, and wiped the whole stool down with cleaning wipes, then damp paper towels. I used the glue gun to adhere a bunch of plastic bugs and resin flowers around the existing bas-relief floral decorative elements. I had previously washed the bugs and primed them with Dupli-Color clear primer for plastic.
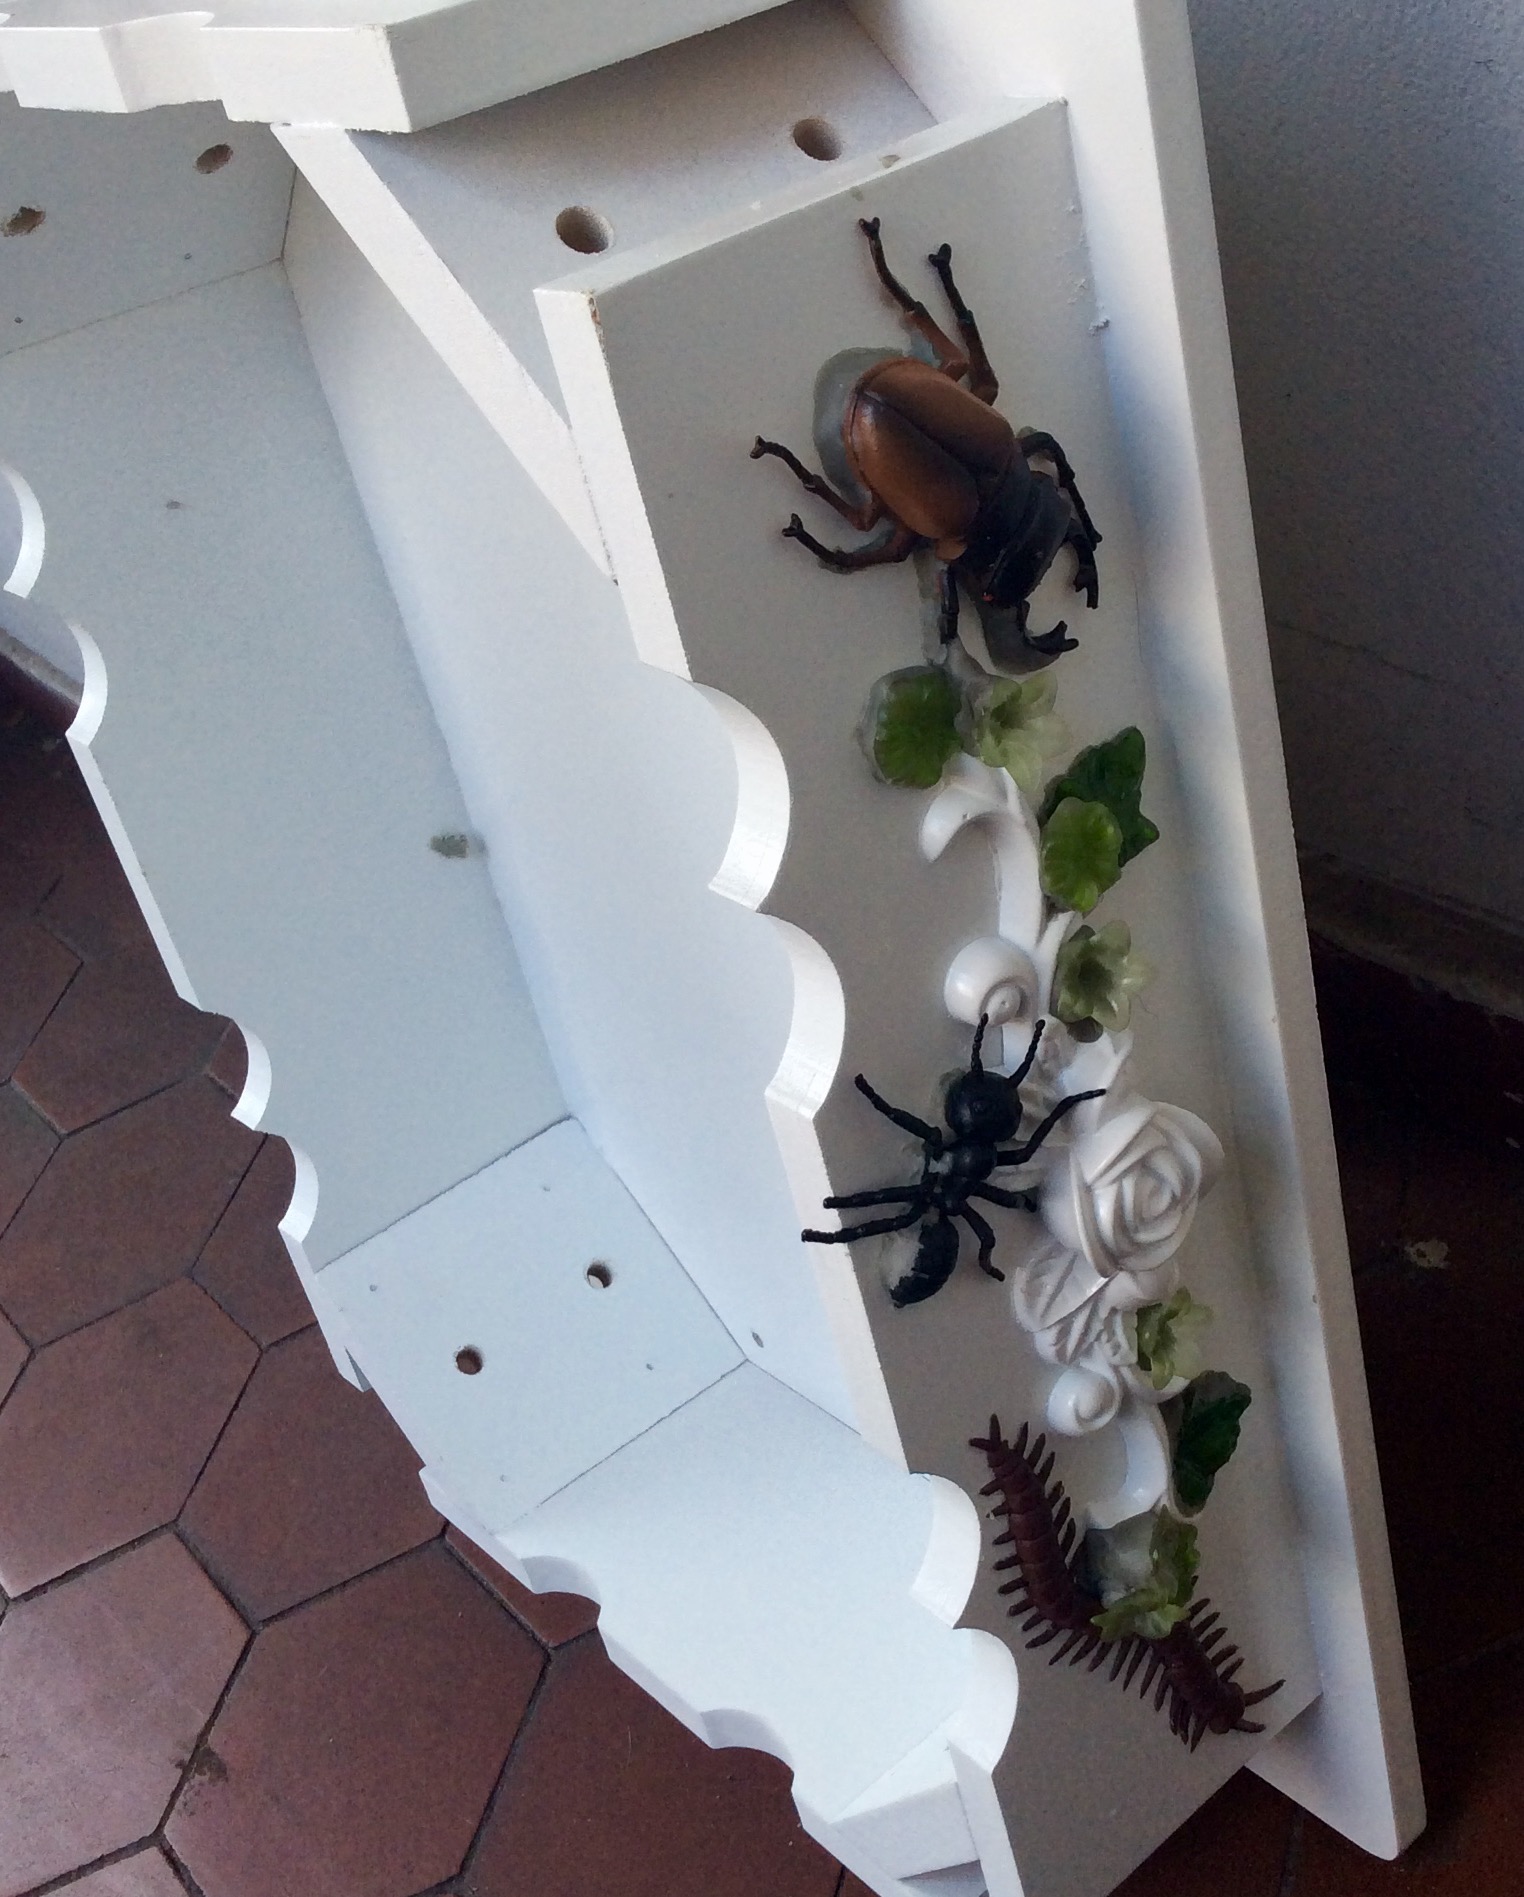 Then I used epoxy clay to really blend the new elements onto the base. Thinking I could expedite things (epoxy clay is a beautiful material for conjoining disparate materials, but expensive and slow) I also used some regular tube spackle for some of the big gaps. To smooth and unify all the surfaces, I painted many areas with Mr Surfacer500, a Japanese gap filler/primer product for model builders. Its grey surface is supposed to function as a primer, so I wasn’t worried about it not adhering or not accepting paint. Then I sprayed the areas with the bugs again, with the Dupli-Color primer. Here’s the original stool out on the balcony at that stage, last July.
Then I spraypainted the whole thing. WOOOOOO what a mess.
Yeah that did not work. There was some kind of reaction between the painted cast resin decorative elements of the stool and the plastic primer, or between the Mr Surfacer500 and the spackle. Tiny bubbles appeared all over the work I’d done, the areas where I’d filled crevices around the bugs to make them look carved from the surface.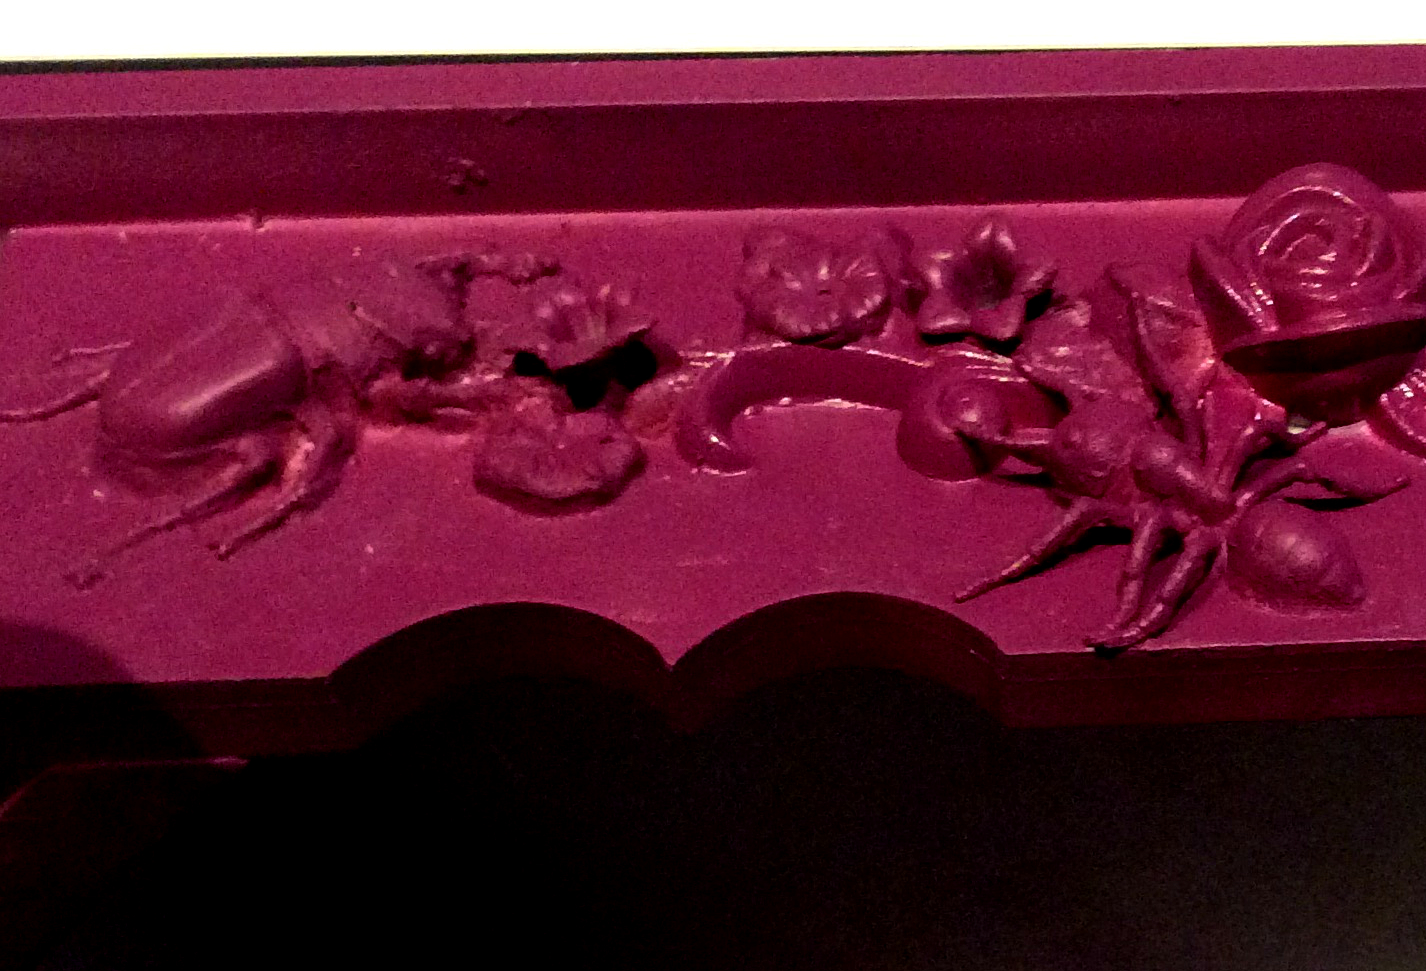
Plus, the paint on the original resin elements had become tacky, which means disaster for a mixed-media work. It means there is a reaction preventing the curing of the paint, and that area will never harden and will attract dust for all time. Possibly a reaction between overspray of the Dupli-Color clear plastic primer, which is a chemical scuff, and the paint used on the resin elements.
My project was fucked. I took the picture above to show the chunky, unevenly cured surface, but you can’t see all the damn bubbles!
So I decided I’d remove the paint and re-prime the entire thing.
 Guess what, I had primed the bugs and new flowers so effectively that the paint was virtually inseparable from them. And the original curliques and flowers just got gunkier with every solvent I tried. In the end I was trying orange oil and baking powder, which will take off damn near anything, and scraping sections with a dental probe, because I just hated the idea that this was a thing that had to be thrown away.
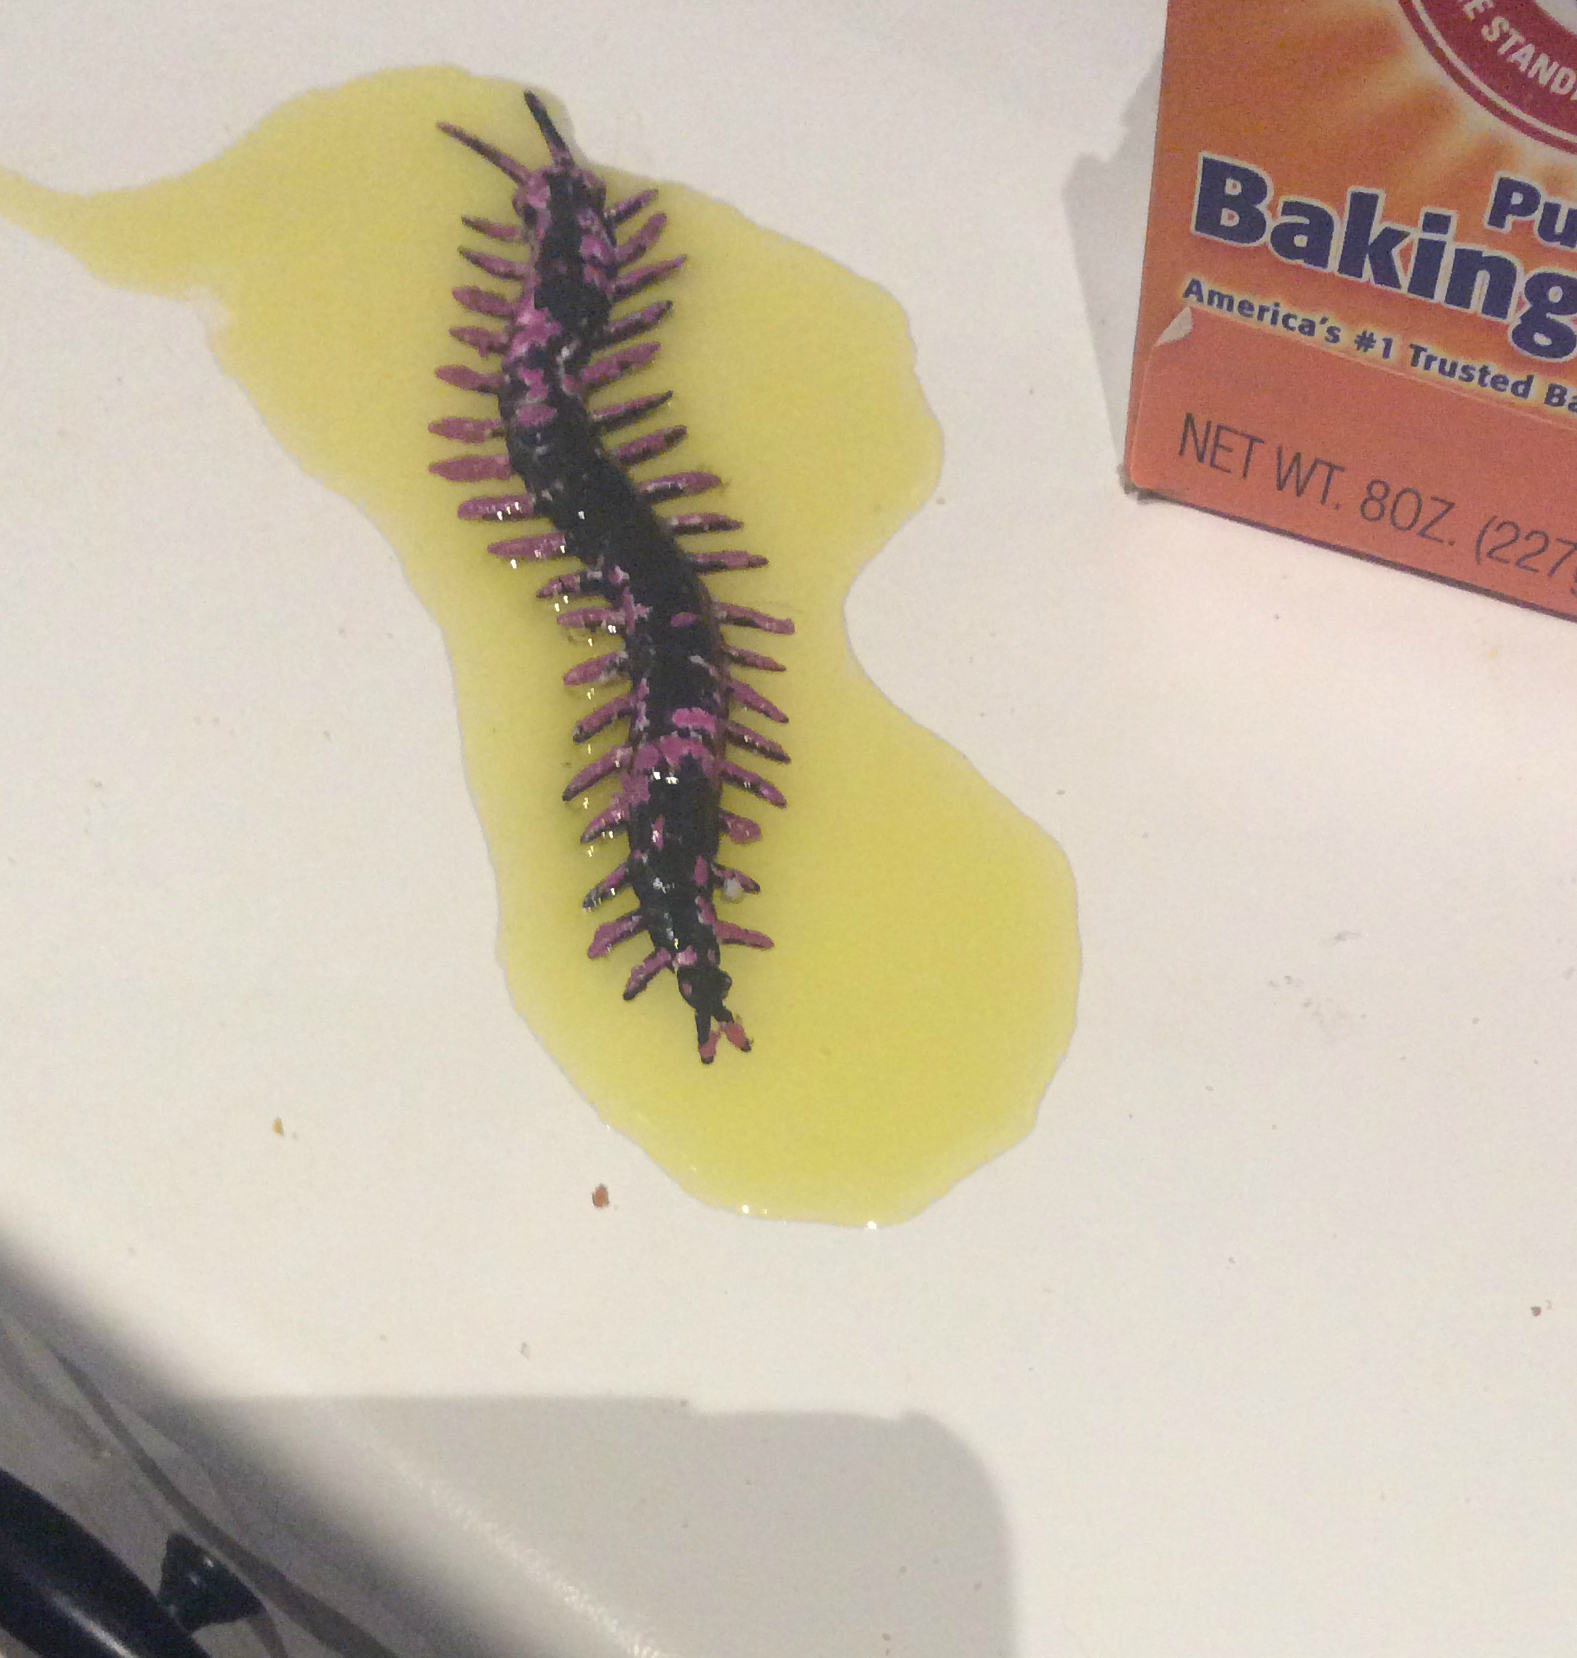
I could not get a clean surface. I could not get the paint off. I did salvage and scour one centipede, because plastic centipedes with a flat underside are hard to find. Here it is soaking in olive oil to remove the last of the paint.
Luckily, I got a new dollhouse which took my mind off the maddening primer/solvent/paint mess, and eventually I brought myself to throw the bug stool base out. Because it had so many different materials on it, it couldn’t go in any of our German recycling bins. It bothered me.
But it bothered me even more that we were still dragging a chair into the hall to use the phone!
So I decided to try again. I ordered the same stool, and set to work. But this time I tried a new approach, from a new action figure customizing blog. A bunch of incredible tutorials had gone up in December on a site called Action Figure Art. One of them suggesting sealing acrylic paint with Mod Podge! I was ready to try this new approach.
I had used Mod Podge as a primer for a plastic toy exactly once, back in about 2002, to prime a little cat figure for the top of a wedding cake I was making. But I’ve used it for various other projects over the years, mostly for decoupage. It is popular for furniture as a glue, primer, sealer and finish, and comes in different formulas. I ordered the matte finish for the bug seat, because I wanted to paint on top of it with acrylic paints.
Of course I did the usual prep of washing the bugs with hot water and soap, and I used the glue gun to attach them again. I took my time filling in around and under the bugs with Apoxie Sculpt.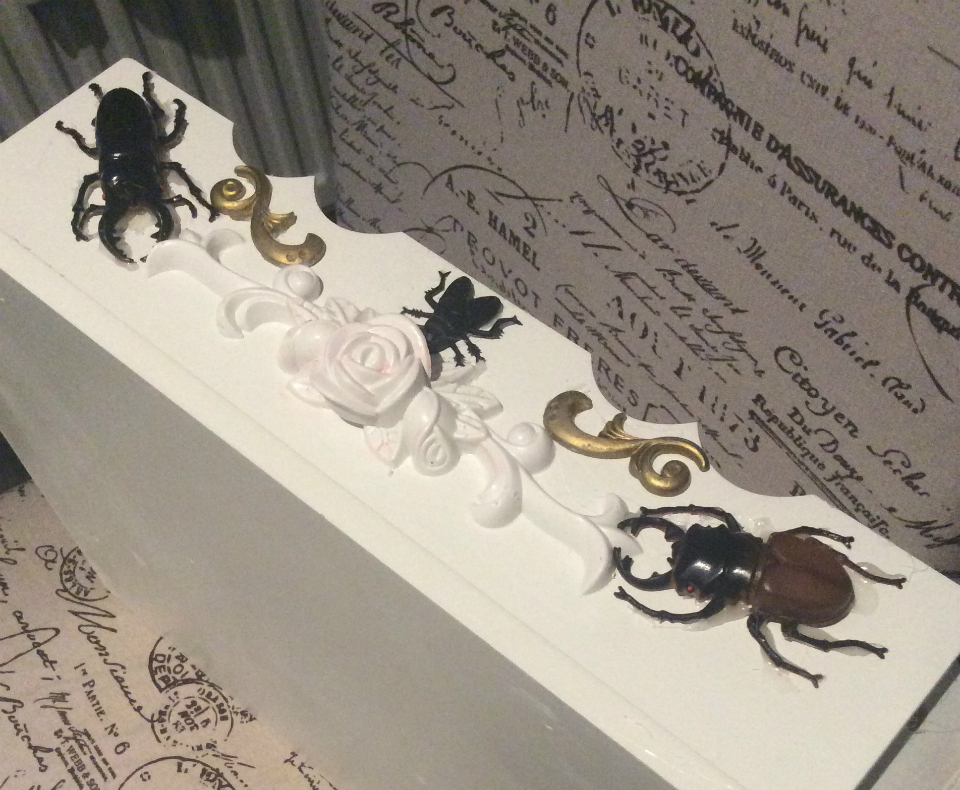
This second attempt was during my Make-Cation, so I had plenty of time.
Here you can see the stool in progress along with some other projects, including the Baroque Bug Frame, which I used the same technique for. Pictures of the frame finished here!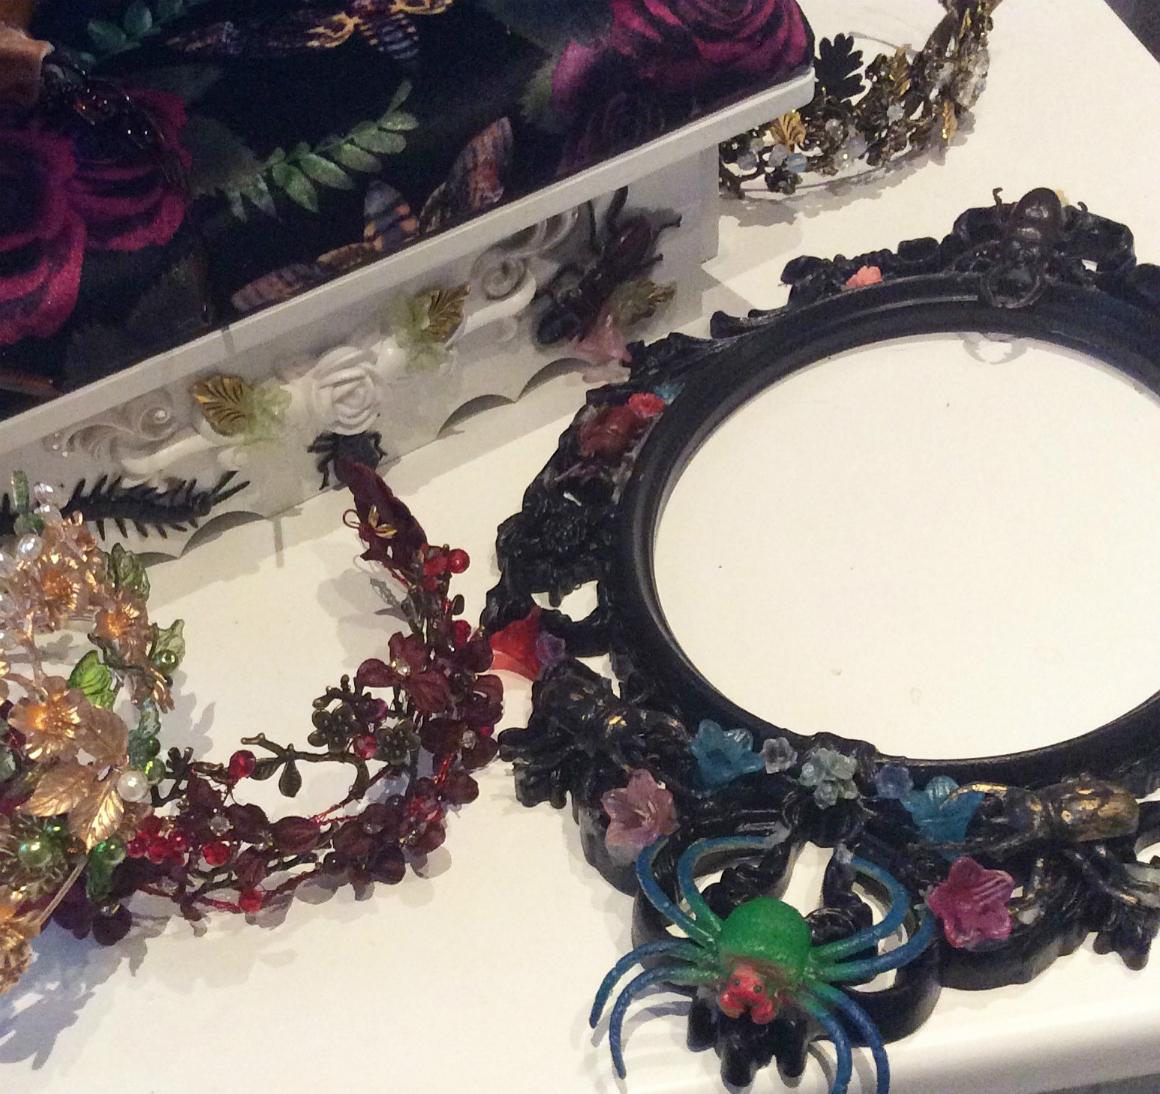
Mod Podge itself is a synthetic polymer, a polyvinyl acetate like white glue to be specific. That may sound scary, but like white glue, it’s very safe. Once I was done smoothing the bugs onto the stool with Apoxie Sculpt, and the Apoxie Sculpt was cured, I started painting coats of Mod Podge over everything. Evenly, over the whole surface of the panels of the stool, bugs and original elements and all.
 Mod Podge is a like a rubbery plastic coat you are sealing everything under, a form of isolation coat. That’s why it prevents chemical reactions between plastics and paints. Because it’s thick, it also does some gap filling and overall smoothing. I used about five coats over the panels with the bugs. Then I spraypainted the whole thing, with Dupli-Color Next in Berlin Berry.
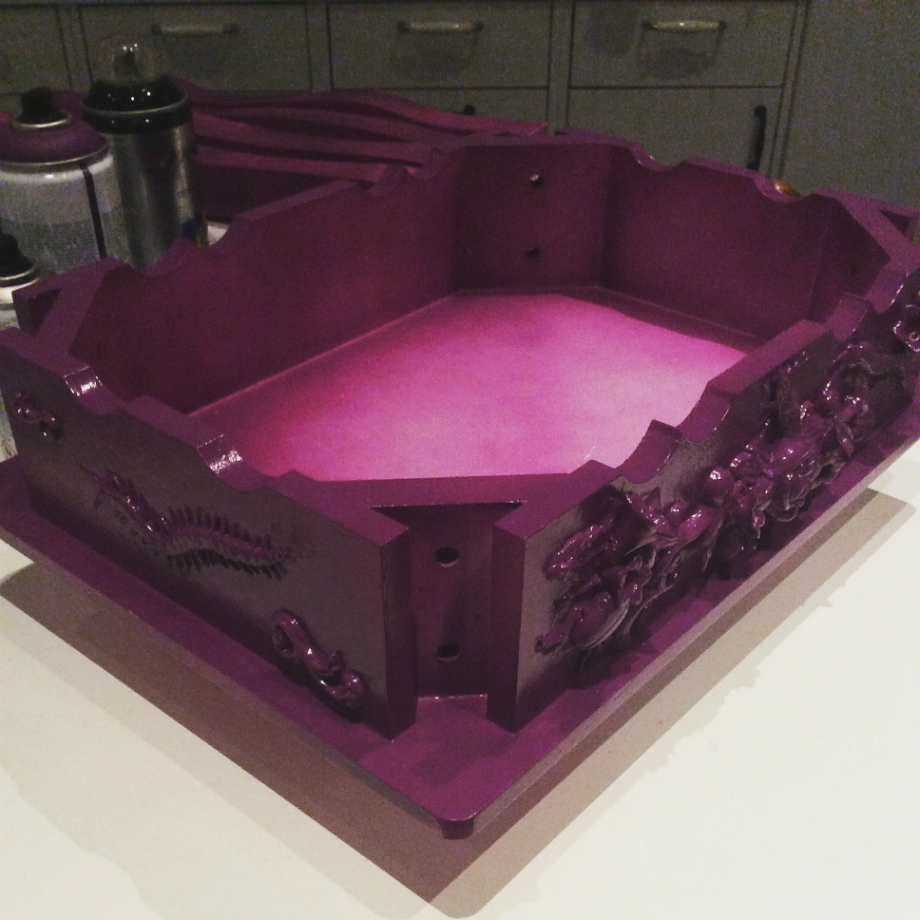
Dupli-Color Next is a “universal” spraypaint, one of the new class of acrylic lacquer spray formulas that’s supposed to go on almost anything without primer.
A similar product is Krylon ColorMaxx. I have found Next to be inconsistent in finish – some areas dry shiny, some matte – but it’s easy to use, with flexible recoating time and low-odor/toxicity. Since I was planning to put a gloss acrylic sealer coat over everything, I didn’t care about the problems with inconsistent finish. It took about two cans total to really cover the whole stool, which is a good example of how spraypaint is actually an inefficient and expensive way to paint things! However, the paint adhered to the Mod Podge finish really nicely.
 Then I started painting on the details.
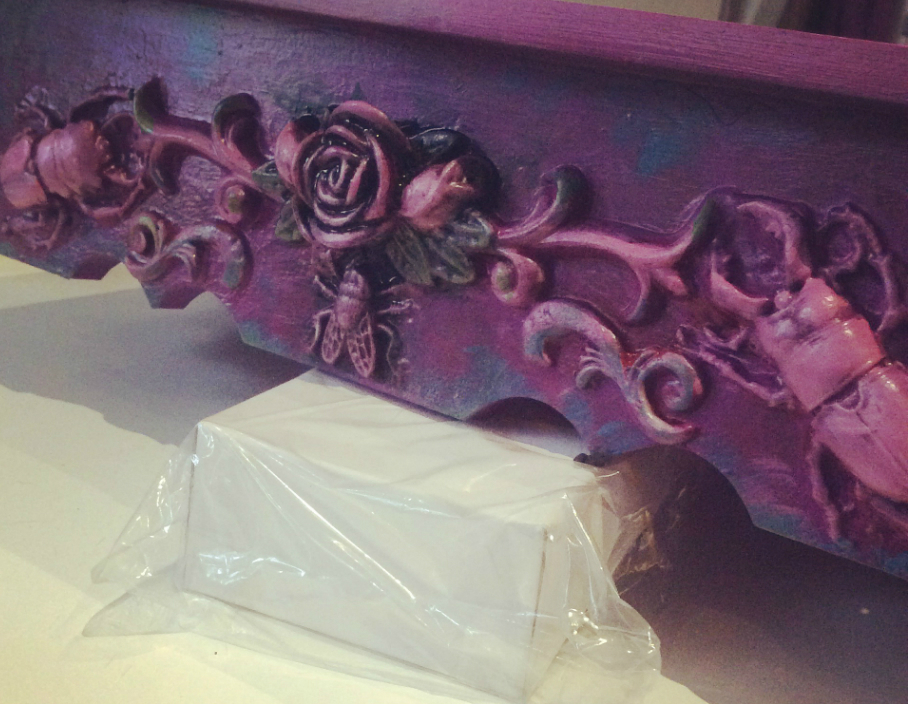
Because Next spray is acrylic lacquer, not enamel, I could paint on top of it with regular artists’ tube acrylics. I did layers of black wash, then dry-brushing highlights, then lowlight passes. In between the accent paint layers, I added additional layers of Mod Podge. This ensured each batch of highlights was sealed under a protective coat. If I went too heavy with a highlight, I could wipe it off without disturbing the black wash underneath. I can’t even tell you how many layers of this I did – gotta be at least ten. Each Mod Podge layer helped the bas-relief, carved-on effect. 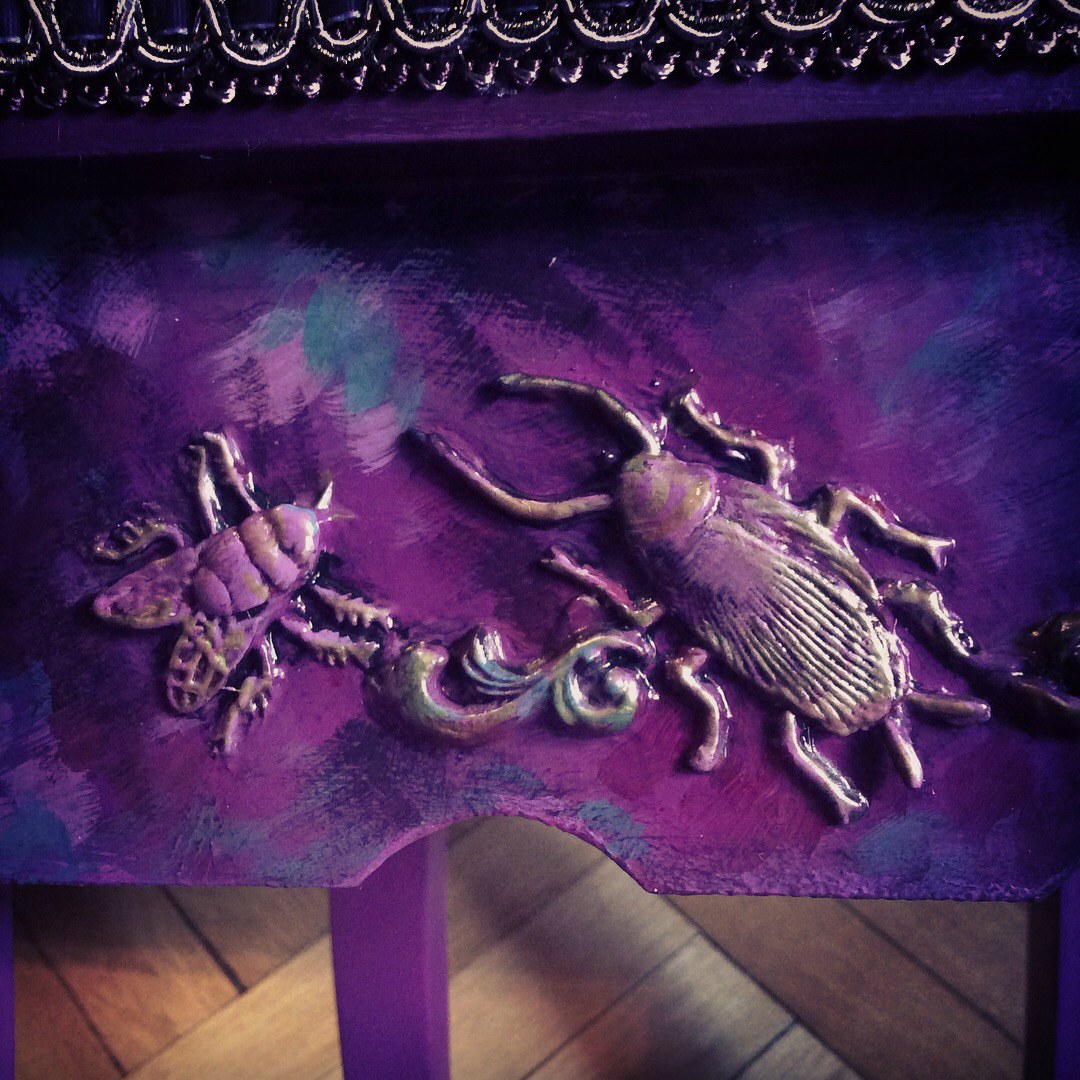
I also did some sponge-painting effects and scumbling on the panels themselves, to give a nice Impressionist quality. You know how those Impressionists loved cockroaches.
At the very end I used an acrylic-based (rather than solvent-based) gold marker to add a few more highlights. Cause I’m so subtle. Then I let it all cure for a couple days. I had also spraypainted the legs of the stool, with the Berlin Berry, and let them cure too.
Then it was time to spray the fuck out of it with Gloss Acrylic Sealer Coat!
The outrageously comprehensive Mod Podge craft site Mod Podge Rocks repeatedly states that to truly get a hard, non-tacky finish on your Mod Podge project, you need to seal it. That seems pretty shady, since Mod Podge itself is supposed to be a sealer, but I wasn’t taking any chances at this point. Acrylic sealer it was, and four coats!
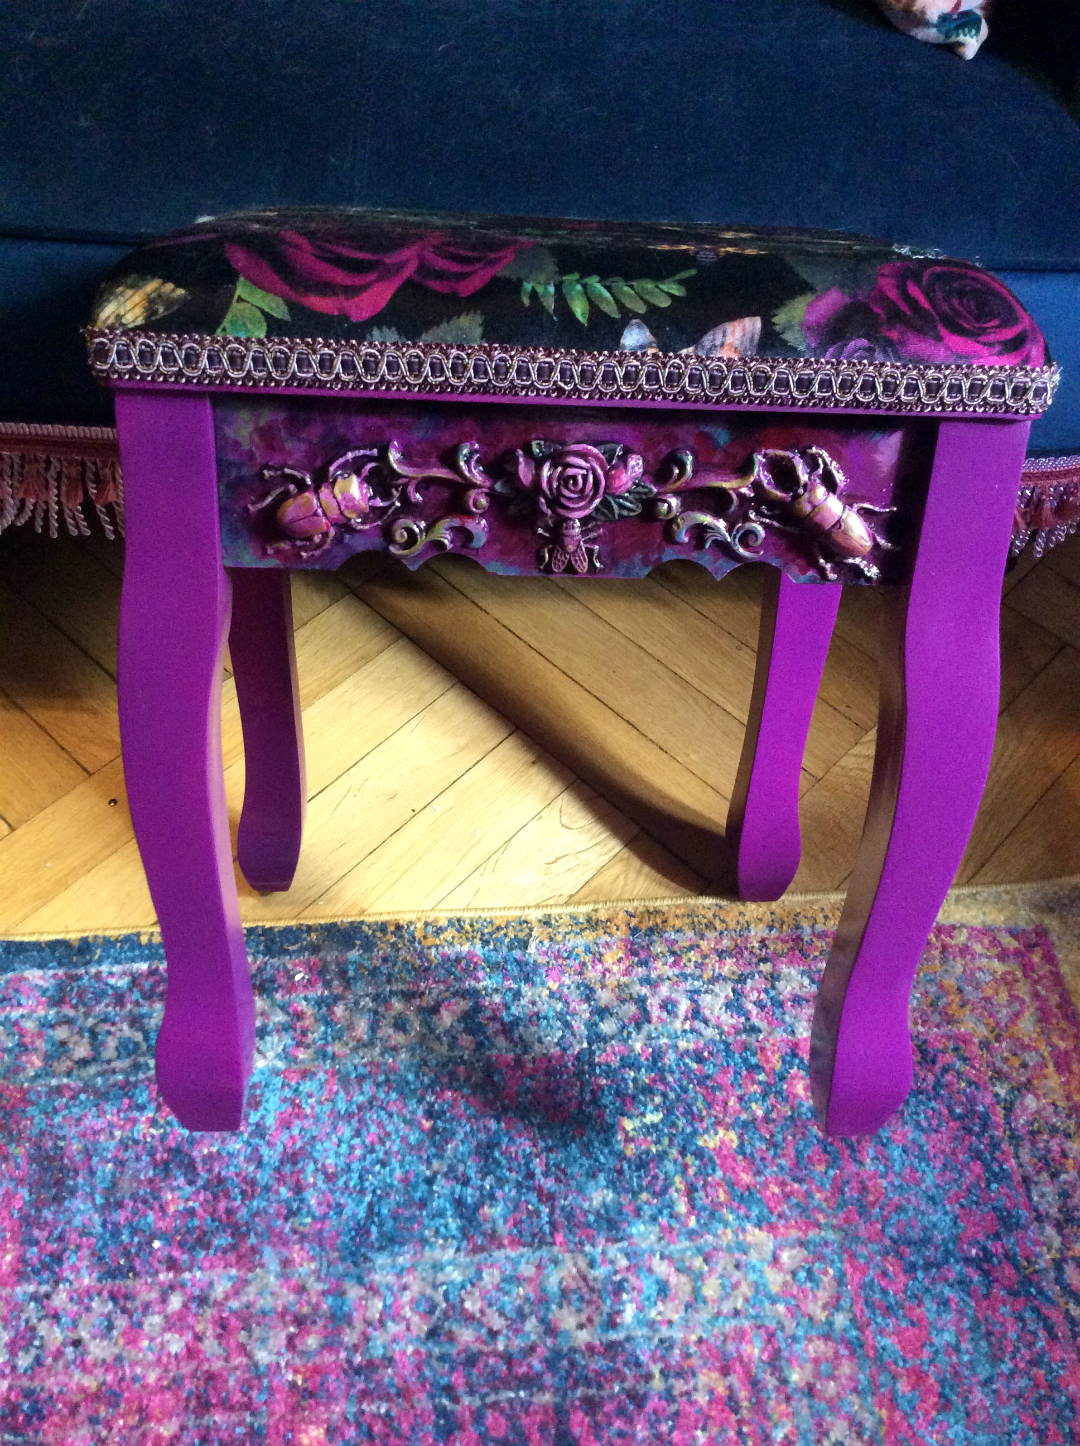
Finally, I attached the recovered seat with the incredible velvet death’s-head moth fabric.
 Wow that fabric was a close call. It’s actually a cut-up dress from a goth clothes company called Killstar.
I ordered the largest size they had praying it would cover the seat without a seam, and it just barely did. Killstar have a lot of custom fabrics made and I knew I would never, ever find this fabric anywhere else. It was a hard call to buy a brand-new dress, for forty euros (of course I used a coupon, you know me!), and immediately cut it up. But I knew that the pleasure of seeing the fabric on the stool, day in and day out, would be far greater than having a dress in the closet.
The velvet-and-gilt purple upholstery braid I ordered from the UK covers the places the fabric doesn’t quite stretch!
Passementerie and a glue gun will save your gothic rococo interior decorating ass every time, just ask Tony Duquette! (sigh, you can’t cause he went to the great Paris flea market in the sky.)
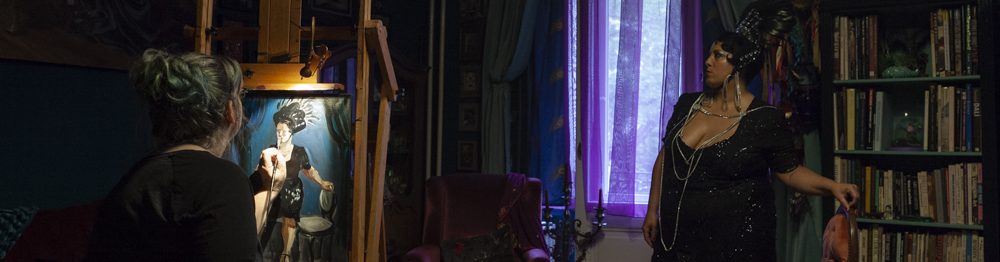
 So here is the telephone stool, in the hall, next to the ugly black plastic telephone that I will eventually replace or cover in holographic foil.
It looks like it’s always been there, right? You’d never know how tricky it was to make!
I think it is the perfect telephone table!
Pingback: August 2019 Make-Cation: Bead Embroidered Insect Corset. - ChipInHead.com